I've uploaded some pictures of my 28mm Gladiator Arena and thought I would give a little tutorial on how to build one.

I decided to focus on the arena itself and too ignore the crowd. I really only cared about the gaming area itself and didn't want alot of scenery to get in the way of playing. I wanted the arena to be easily portable. I also had already written my rules and did not need hexes. However, I will address adding hexes below in the instructions in case you want to use them.
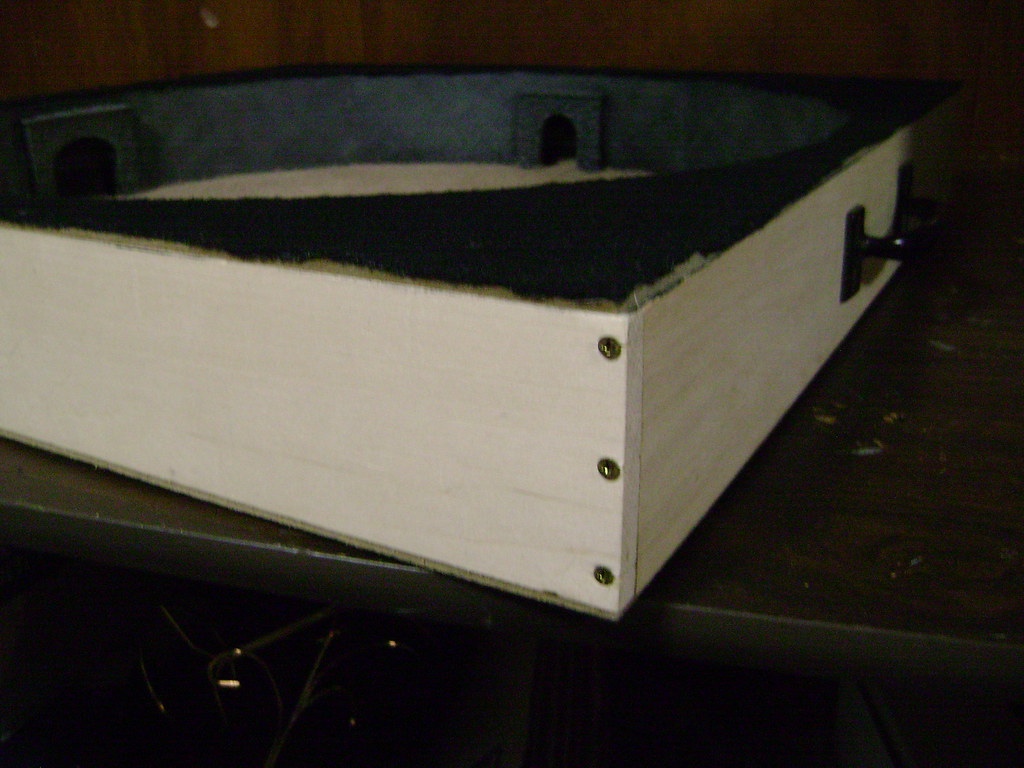
The design I eventually settled on was a box with the arena inset into it, sort of like a drawer. By adding a handle to one side I made it easy to carry just like a suitcase.
Materials needed:
- 4 pieces of bass wood (24" x 3" x 3/8")
- 2 pieces of masonite (24" x 24" x 1/8")
- 16 small wooden blocks
- Enough sheets of palstruct stone effects to create the walls
- 4 HO scale model railroad tunnel entrances
- 1 pack of O scale plastic "Wrought Iron" fencing
- Small pack of 3/4" long screws
- White Glue
- Fine Model Railroad Ballast (For Sand on arena floor) or
- Tan Hex mat for arena floor
To start off determine the size of the arena you want to create. With a 2 x 2 box I went with a 22" diameter circle. Scribe this size circle (Centered) on both of the pieces of masonite. Cut the circle out of the piece of masonite that will be on the top.
Cut two of the pieces of basswood down by 3/4 of an inch. This will allow you to assemble the four pieces of basswood into a frame that will act as the sides of the arena box. Now attach the 2 pieces of masonite to each side of the basswood frame. Make sure the scribed circle on the bottom piece is facing into the box (Toward the top of the box). This inner scribed circle will allow you to position the 16 support blocks along the outer edges of the circle. These will act as support for the Plastruct rock walls. Make sure that you do not position any of these in spaces where you want to put your arena entrances.
I used hot glue to position these support blocks but you could use small screws or some other glue if you wish.
You should now have a shell that is ready to support your arena walls.
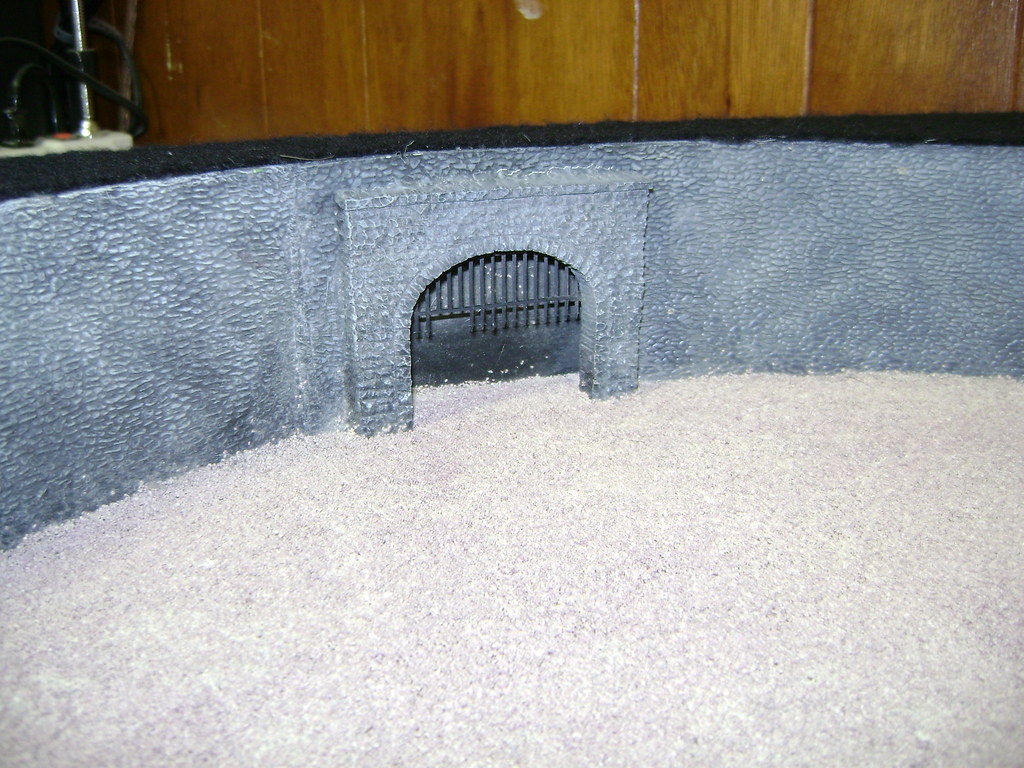
Use the plastruct plastic sheet of your choice to get the rock walls you want. Alternately, you could do something more ornate if you like. Make sure you plan for where you wish to put your entrances and cut openings of appropriate size for the tunnel entrances you have purchased.
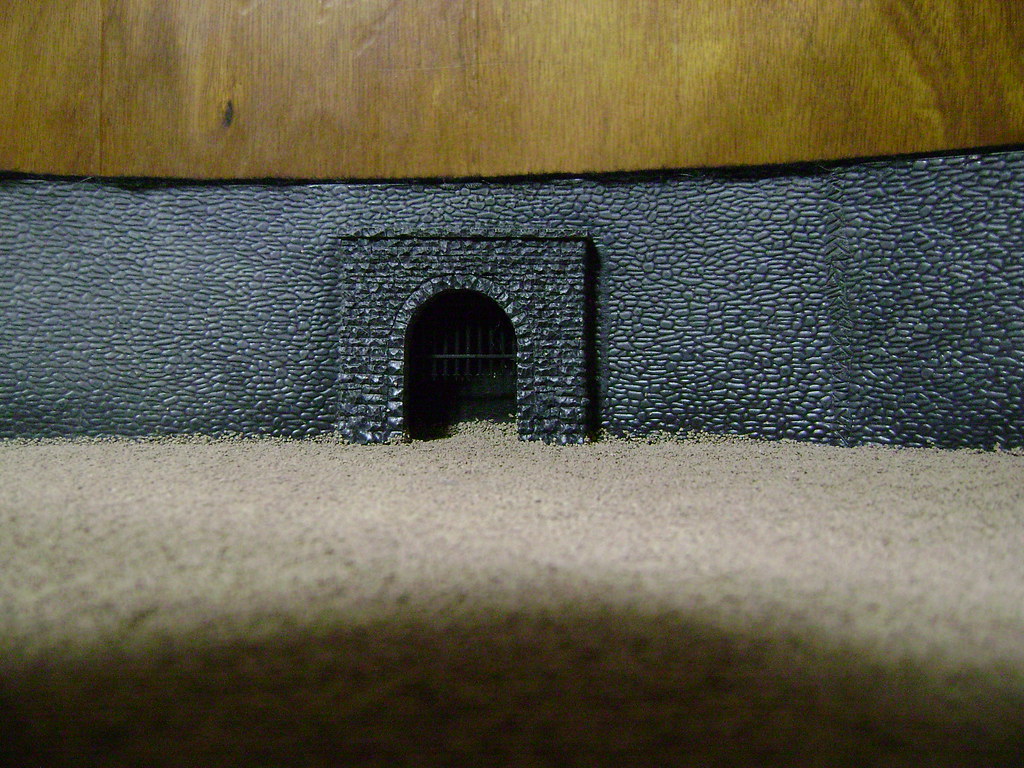
Before you attach your tunnel entrances cut appropriate sized pieces of wrought iron fence and glue to the back of your tunnel entrances. These can be in whatever position you prefer. Down or up. Now glue the tunnel entrances in place.
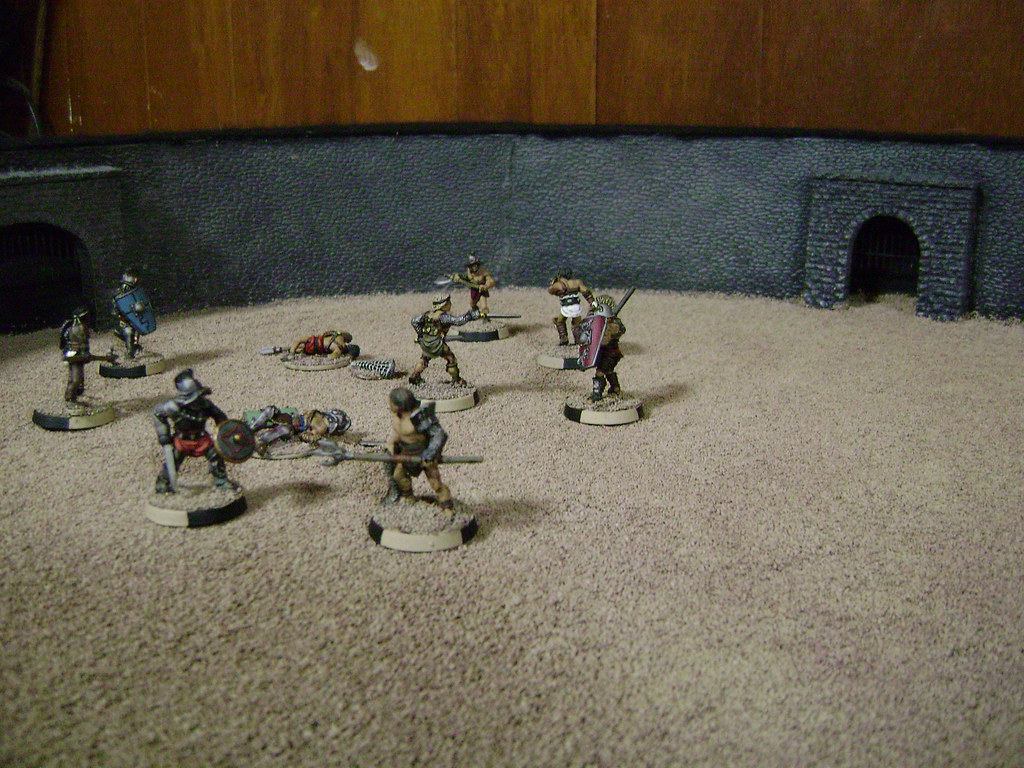
Now it is just a matter of painting the arena to your liking and flocking the base of the arena with ballast. I used plenty of white glue for the flocking to make sure it was durable.
If you prefer to have hexes in the bottom of your arena I would glue a hex mat down to the bottom piece of masonite before scribing your circles.
I also finished my arena off by gluing down some black felt over the top of the box around the arena opening.
Hopefully this gives you some idea of how I built my arena.
Large Entrance
Small Entrance
Corner Construction
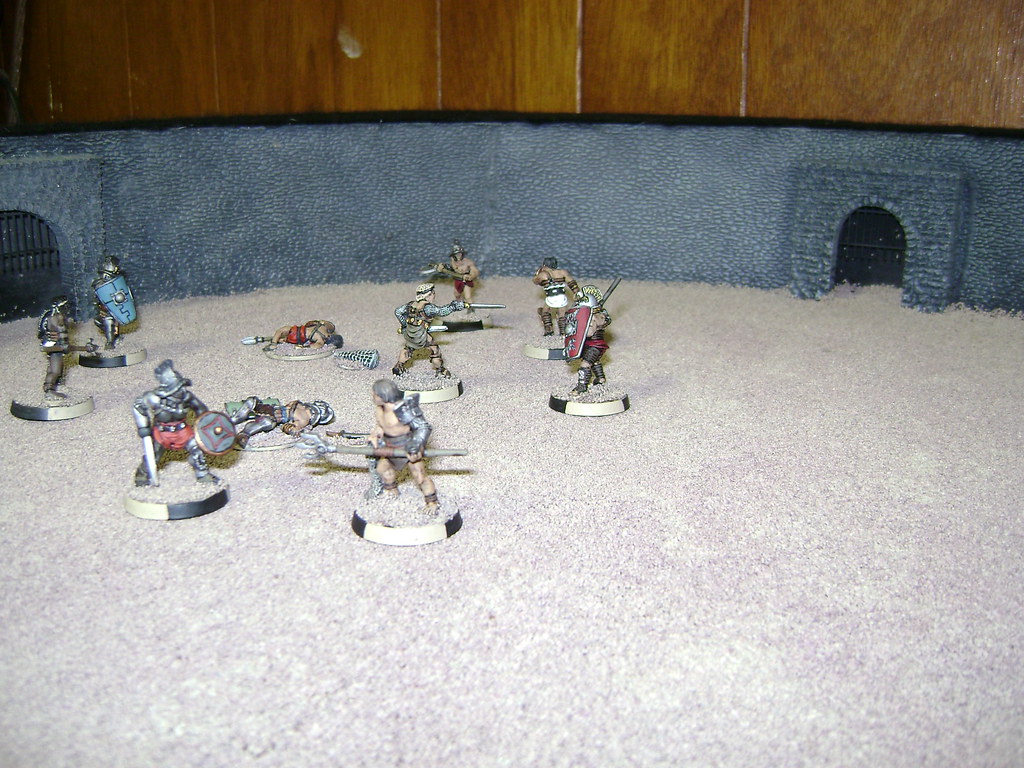
The Arena in Action


Thanks for taking a look!
6 comments:
Dude that arena is badass. Great work man, the tutorial really helps. My father and I worked on it and it looks almost as good as yours. I currently use it to play battles with Warhammer 40k squads, but I really want to use some gladiators. Where did you get those models from?
Just thought I'd do the right thing and leave a thank you message here for showing us your great arena. I don't know if you still check here but I hate visitors not leaving comments and I've visited here quiet often recently.
Yep I still check it just have been pretty busy with work lately. Thanks for the compliment. I finally got around to putting out a new poist. I've bene working on 15mm moderns for a while now.
this is awesome!!! thanks for the tutorial on the arena, this will come in handy for my project. also what line are the gladiators from? any help is much appreciated.
my email is evilninjamonkeys@hotmail.com
put gladiator mini in the subject line.
thanks again man i hope to hear back from you.
this is awesome!!! thanks for the tutorial on the construction. i was wondering what range the gladiators are from? any help is much appreciated. thanks again.
my email is evilninjamonkeys@hotmail.com
put gladiator minis in subject.
thamks
Great post! Found this while I was doing a search for ideas on how to build my Gladiator Arena.
Post a Comment