Thursday, February 25, 2010

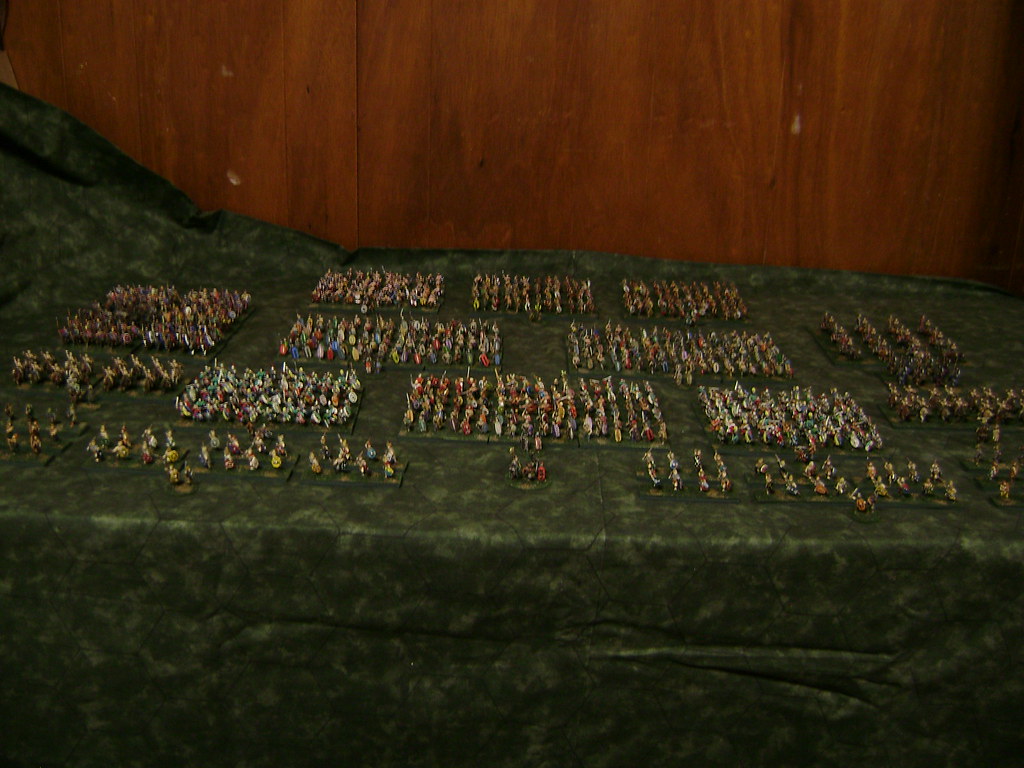
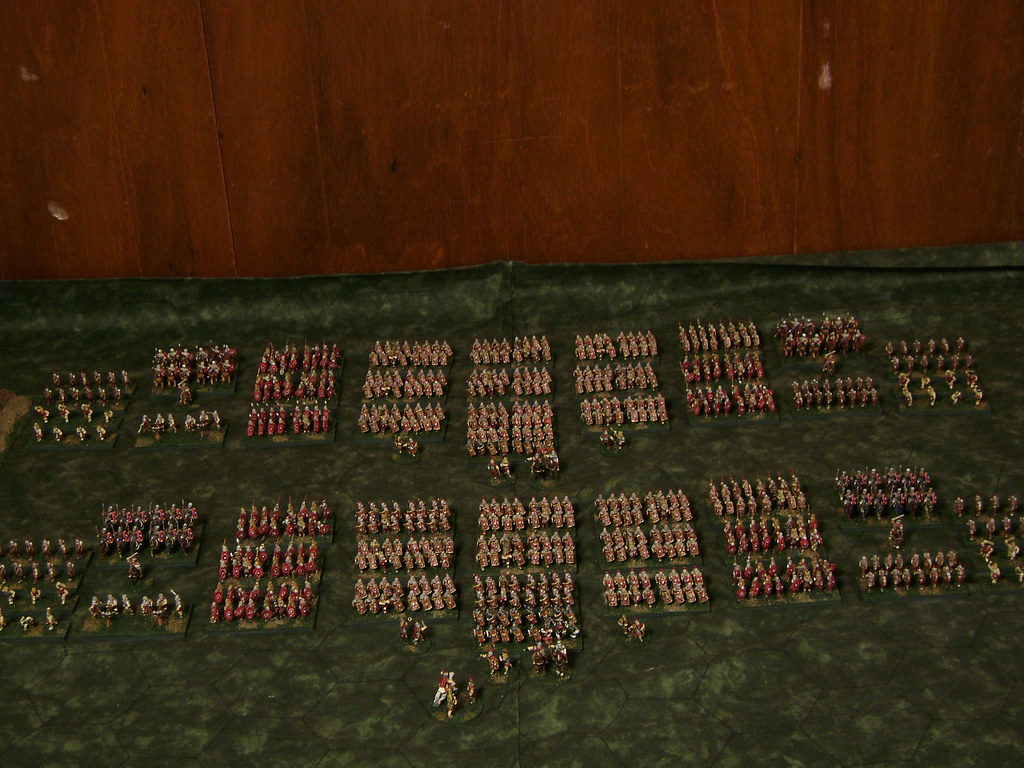
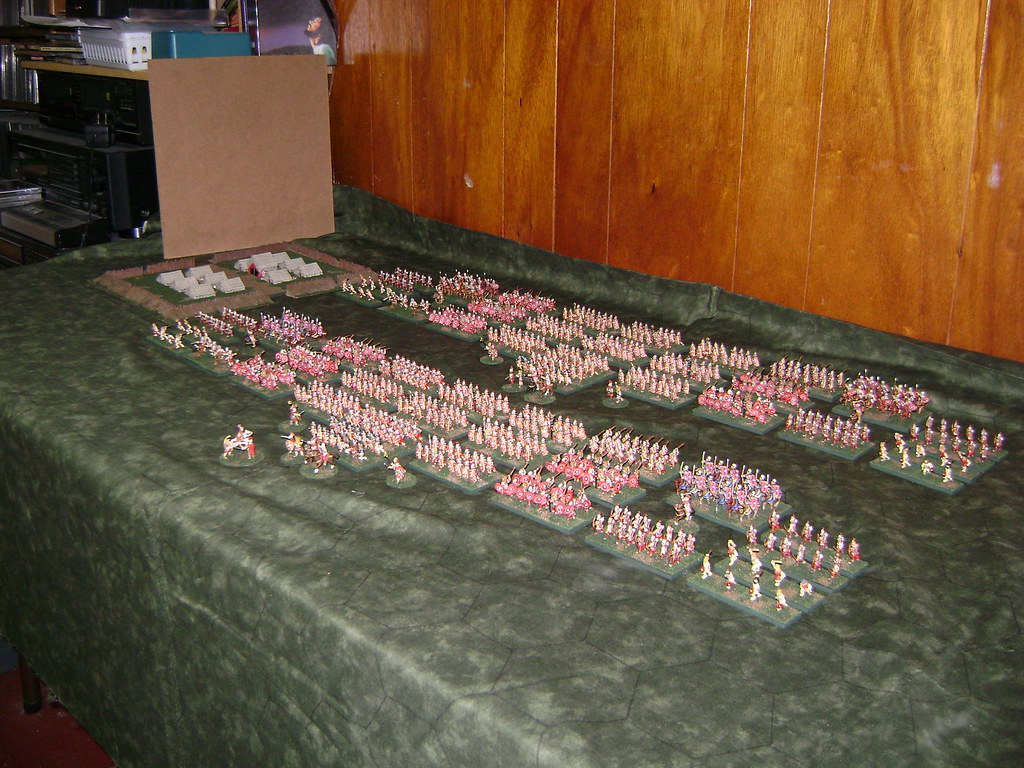
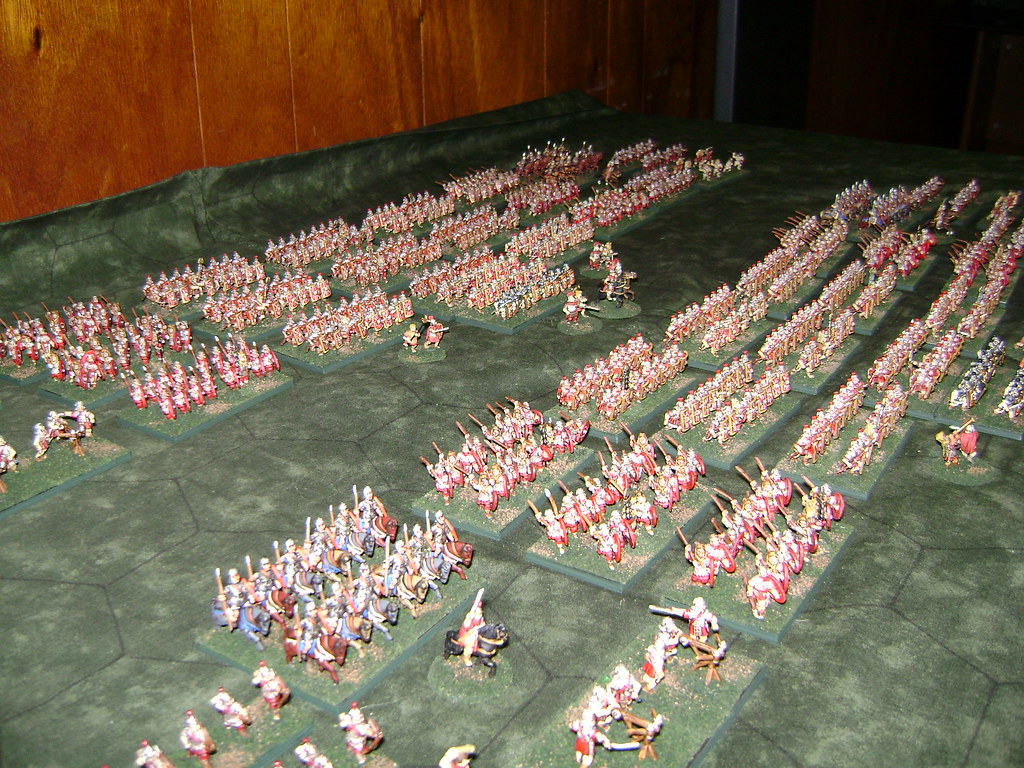
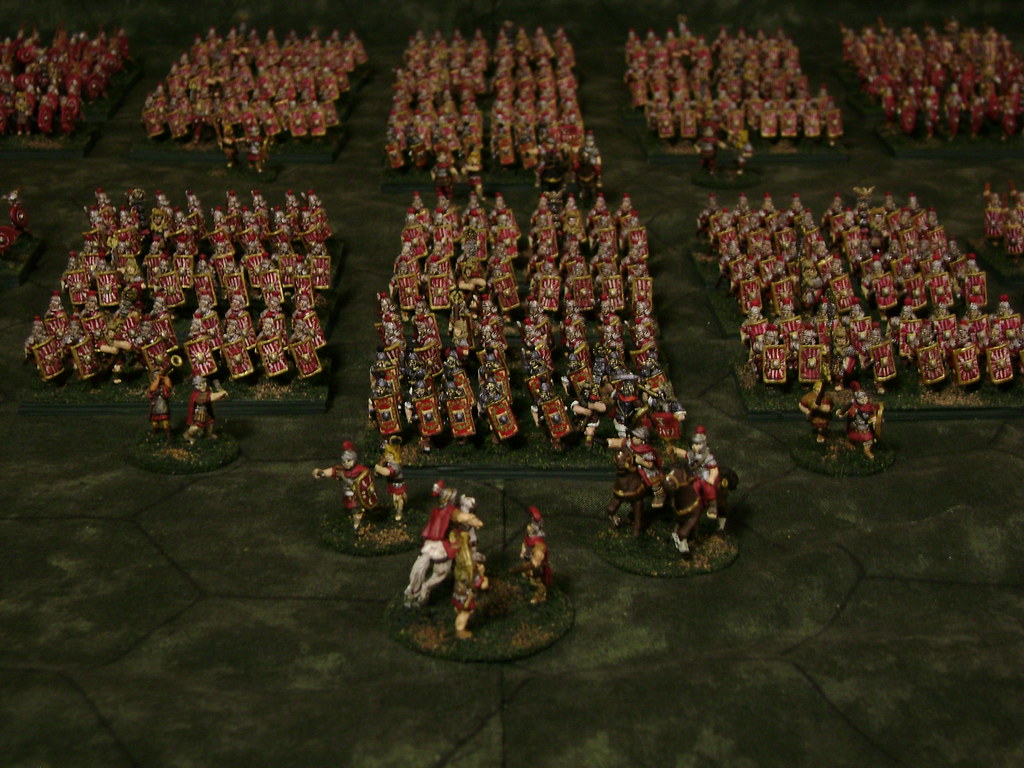
My 15mm Barbarians


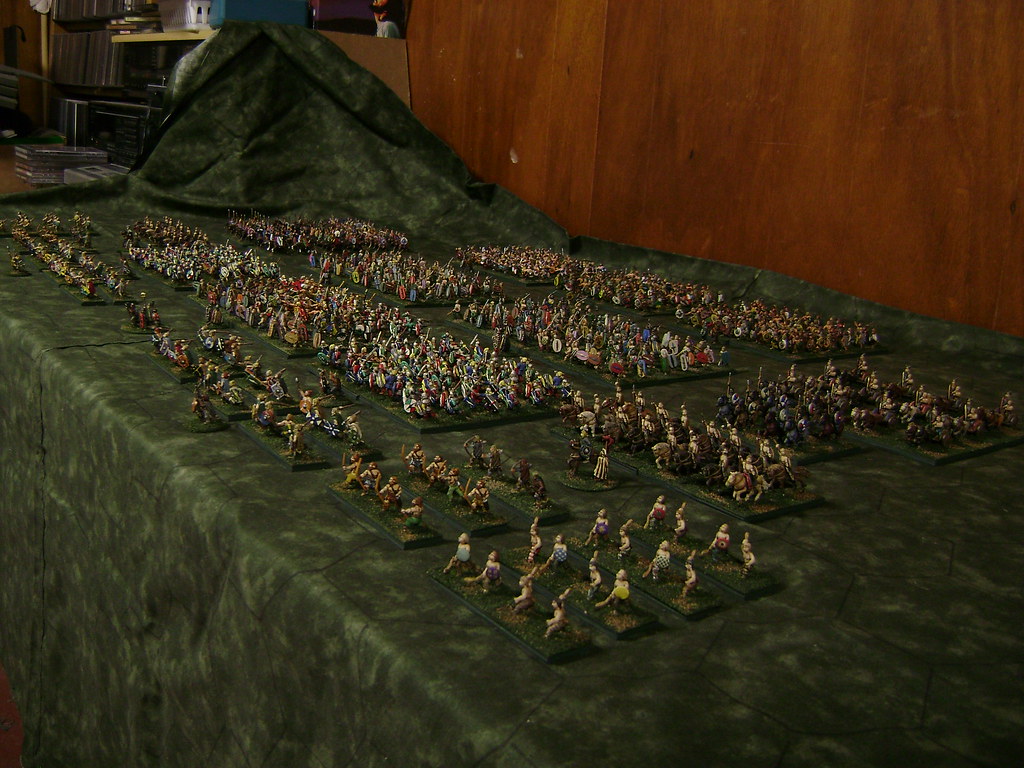
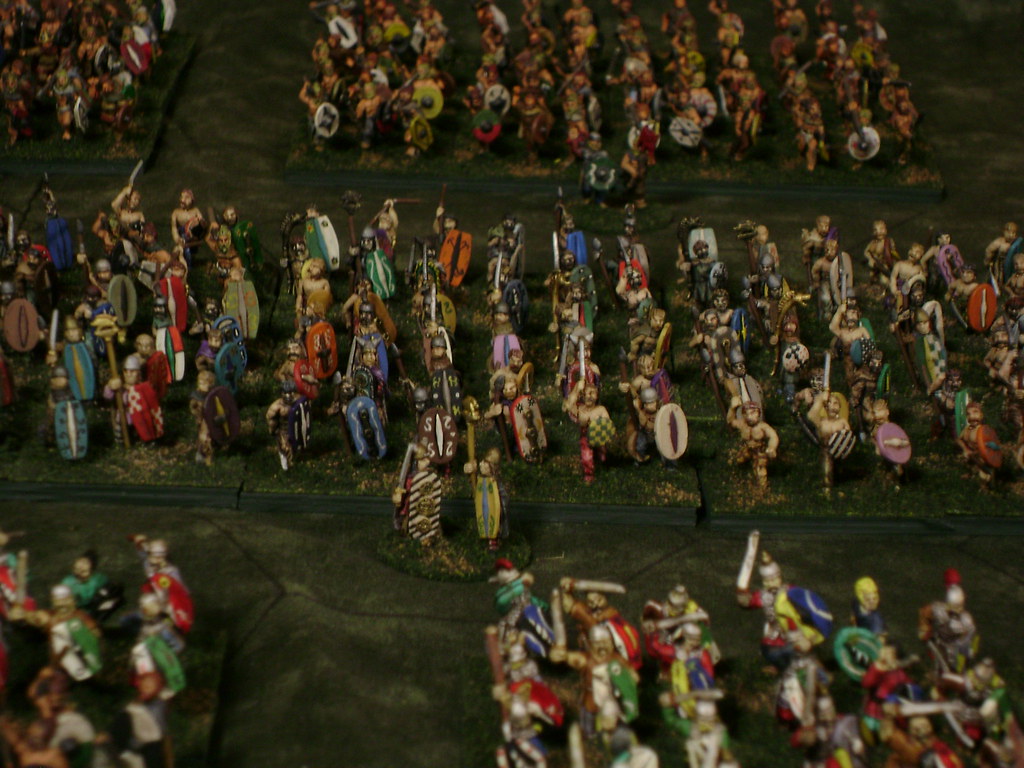
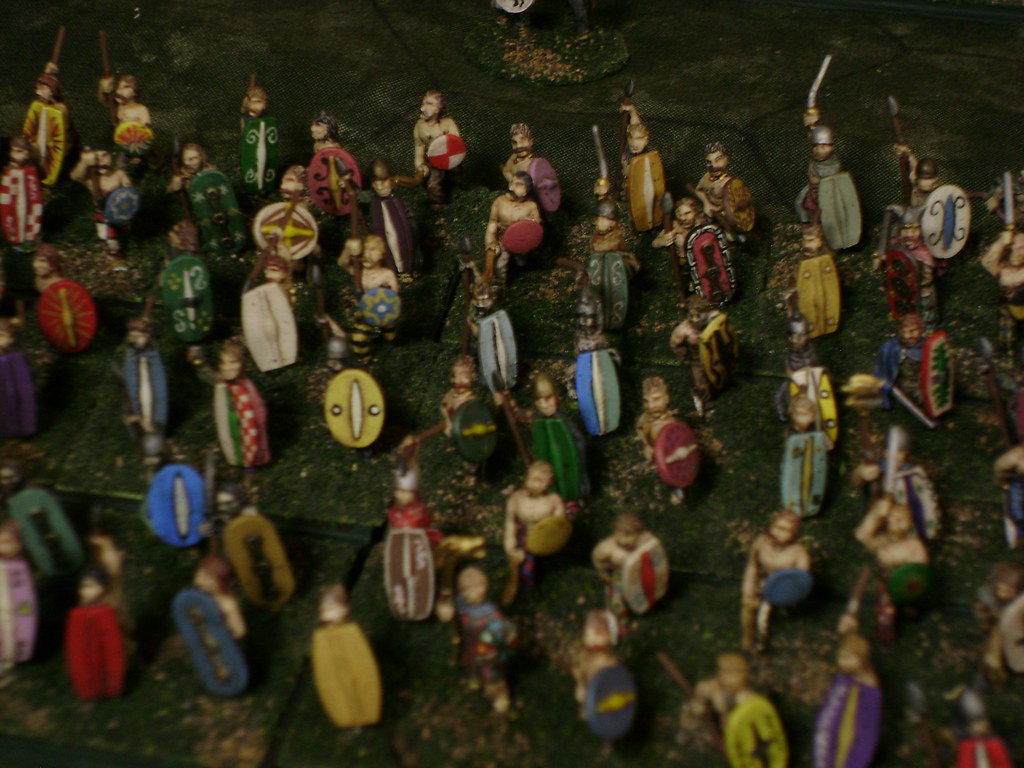
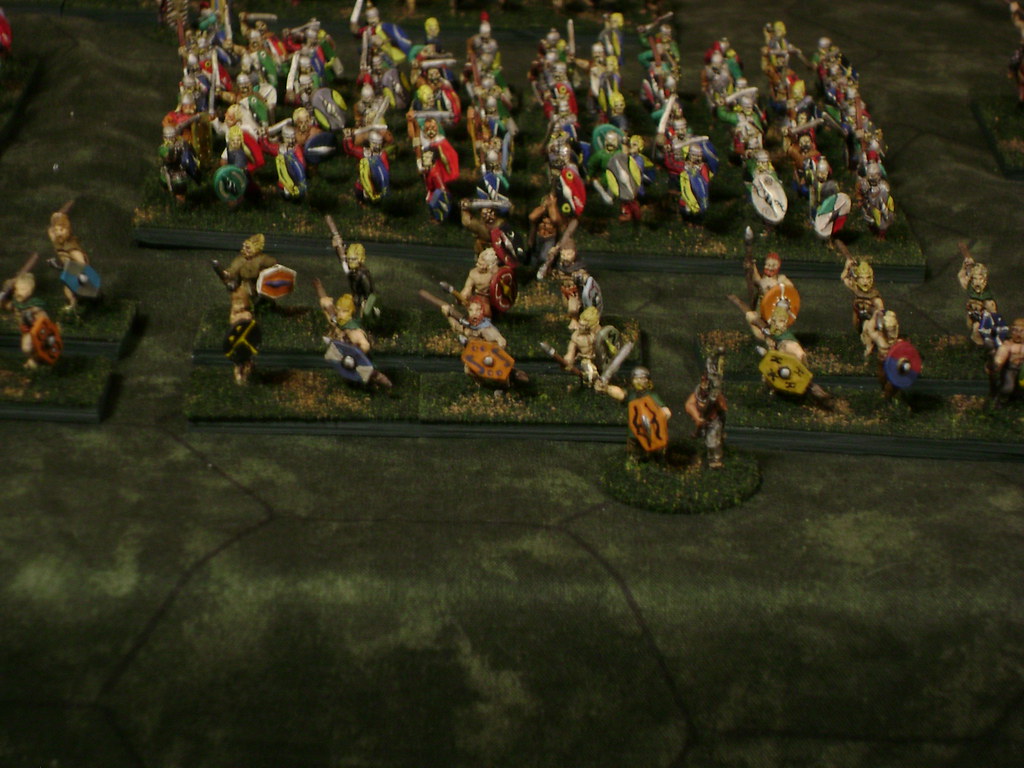
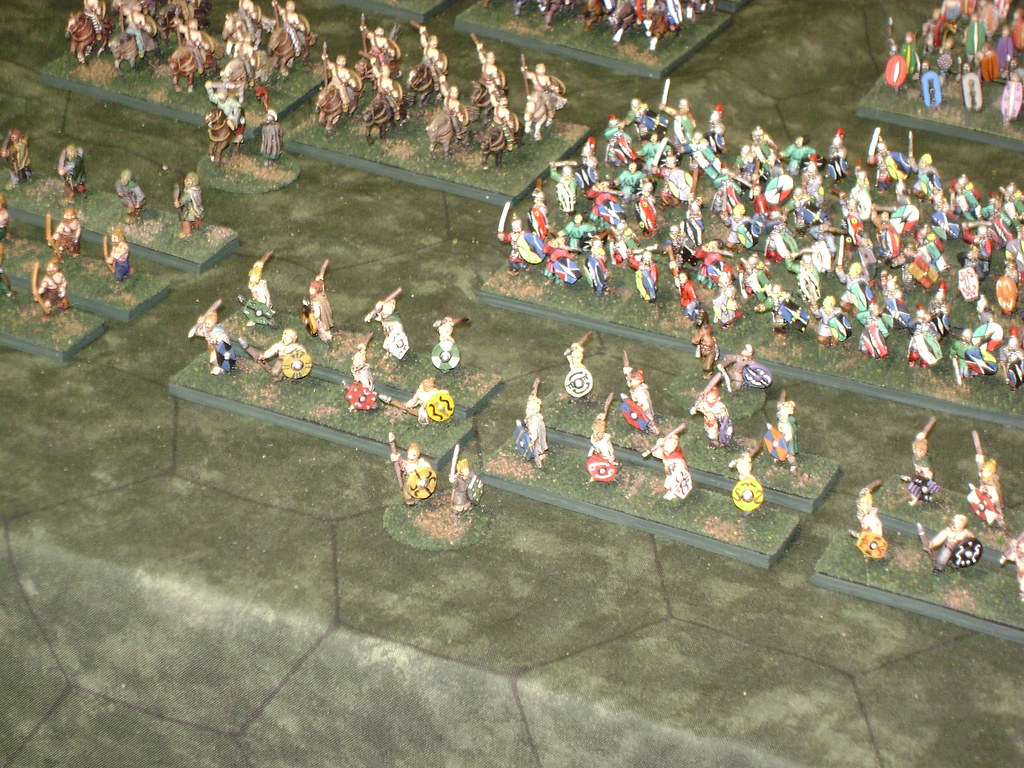
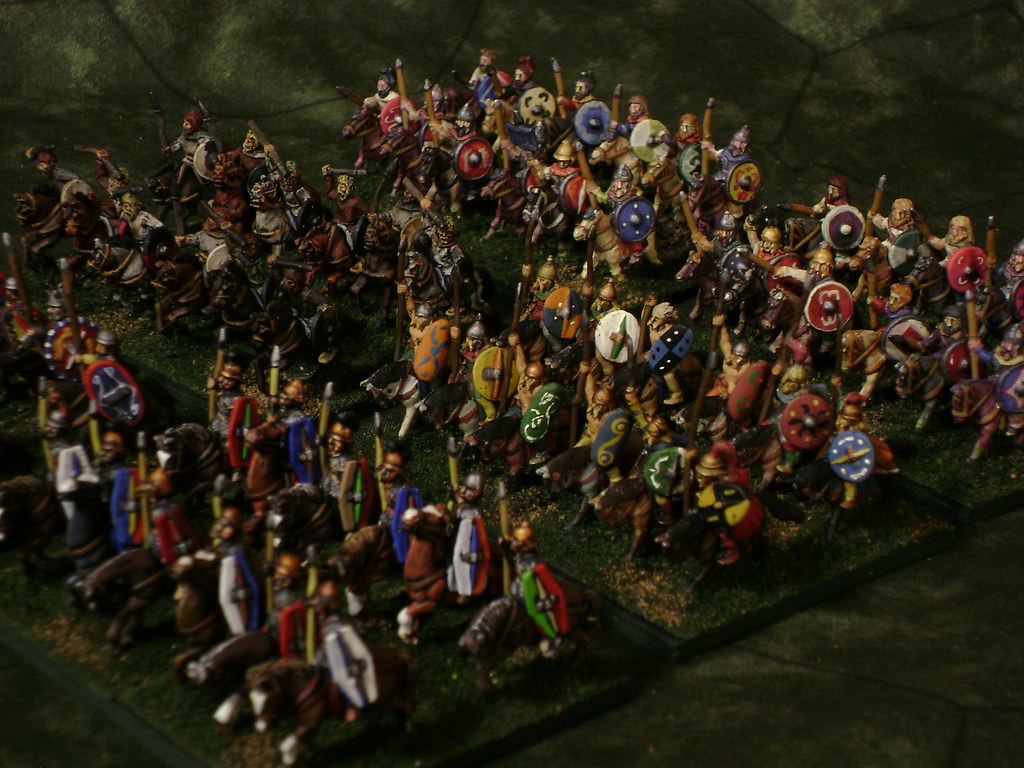
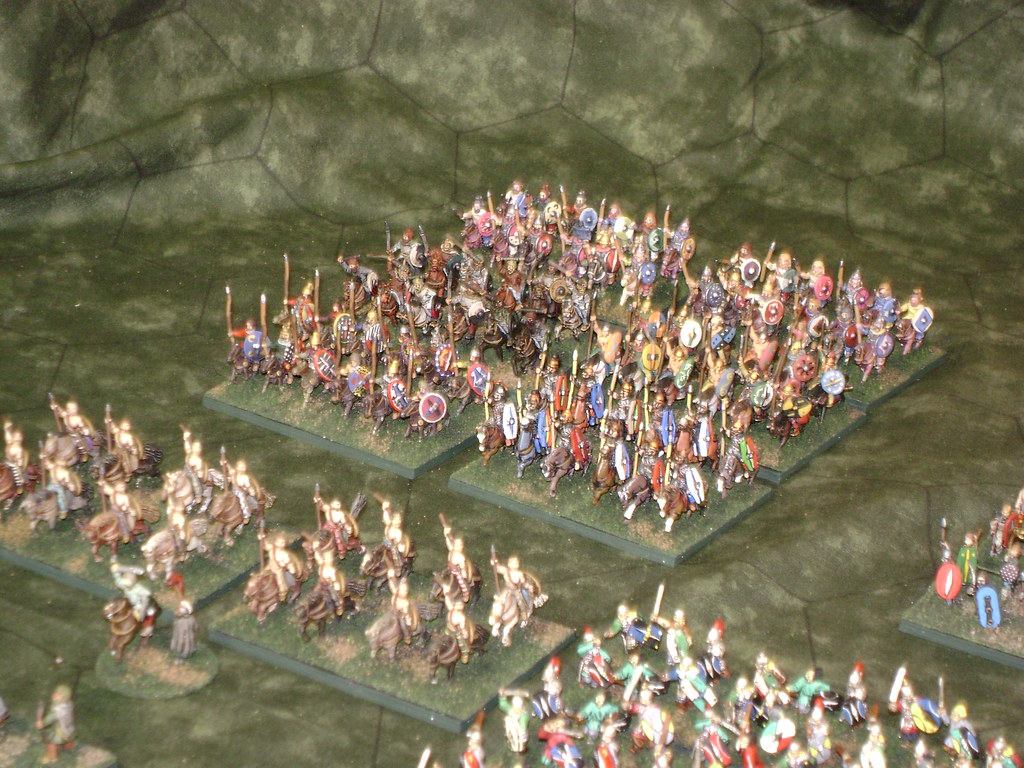
It took me a couple days but I finally got pictures of my Barbarians. I say Barbarians because I use these as Gauls, Early Germans, and Celts. I am currently in the process of painting up Dacian Falxmen and Sarmatian Cataphracts so that I can press them into service as the bulk of those armies as well. I know there are differences in shields and dress between all of these armies but the living with the inconsistancies is a nice tradeoff from having to paint or acquire several hundred more figures.
As with my Romans I acquired most of these figures over the course of the past few years. Mostly off of E-bay but I also got a few from Hind's Figures LTD, Dragon painting service, and George Knapp when he was at a KC con a few years ago. All of them have since been rebased, touched up (Some alot more than others), and inked to my liking.
I have quite a few more skirmishers (particularly for the Celts) but I was running out of room on the table so I left them off.
This army will be hitting the table, along with their foes the Romans, at Fields of Honor - Spring the weekend of March 27th in Des Moines, IA as well as Sunday at Little Wars at the end of April. If you are in attendance you can check them out in person or better yet command some of them.


Gallic Army


Angled View of Gauls


Warbands


Warband Closeup


Skirmishers and Elite Warband


More Skirmishers


Gallic Cavalry


Cavalry and Light Horse


Chariots and Light Horse


Thanks for taking a look. I'll be posting some more stuff soon. I'm going to try to have something new out here every week or so.


Sunday, February 21, 2010

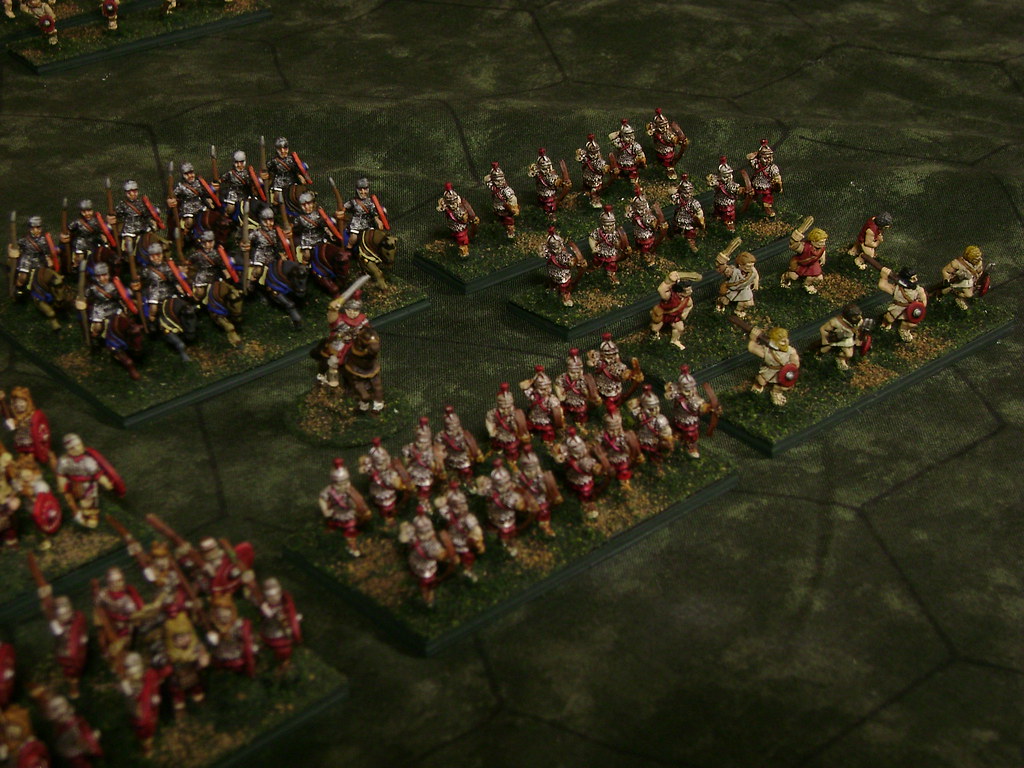
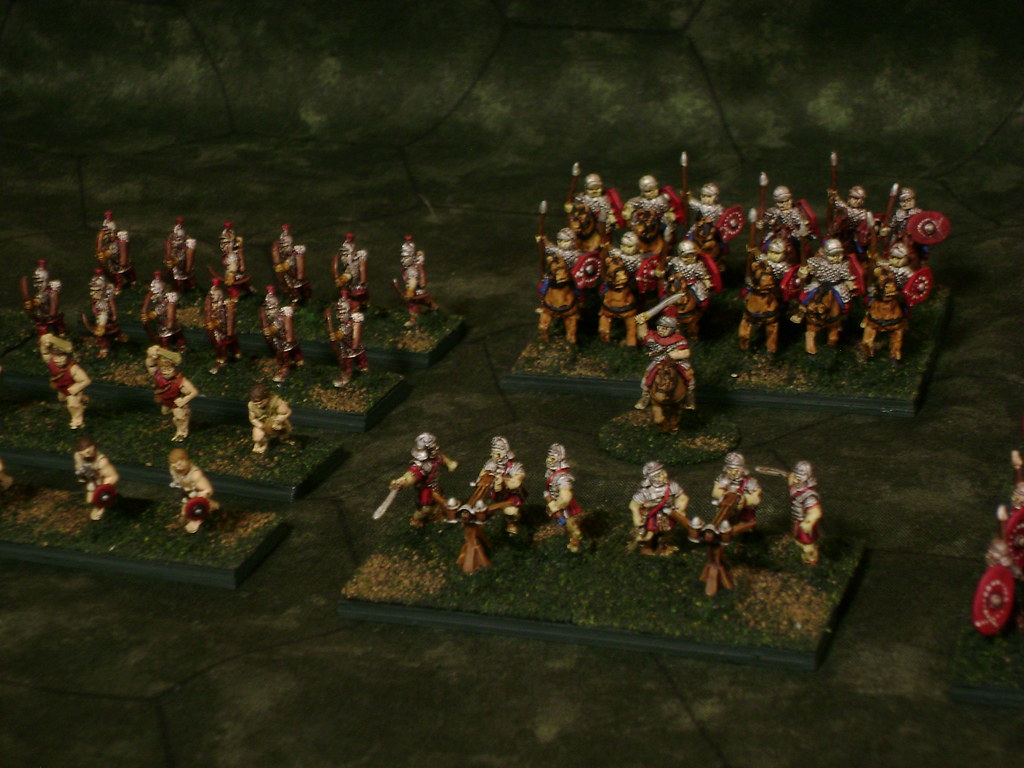
My 15mm Roman Legions

I've recently finished my 2 15mm Roman legions that I began to collect about 4 years ago. Many of the figures I bought already painted off e-bay from seller Bobbn867. He sells 15mm figs in lots of 48 foot. I collected these figures over time buying 1 or 2 lots whenever I had the money. During the same period I also bought several pre-painted collections of "Barbarians" Celts, Germans, Gauls, off of E-bay from various sellers. I sort of just packed them away, worked on other projects and waited for the day when I would have enough to do a couple of large armies.

About 9 months ago I finally decided to get them out, Base them to my standards and pretty up the paint jobs. Most of the figs got small touch ups, shield rims painted, and an inkwash. I based them for DBM/DBA on metal bases and then created magnetic trays to group them for rulesets such as Impetus, Vis Bellica, Armati and FOG.

I also had to paint all of the light troops and the commanders from bare metal. So far they have only seen a handful of battles but they will be seeing the tabletop at Fields of Honor in Des Moines, IA on the weekend of March 27th, if you are in the area stop by and help push them around the table.

I'll be posting pics of my Barbarians in the near future.


2 Legions Ready for review


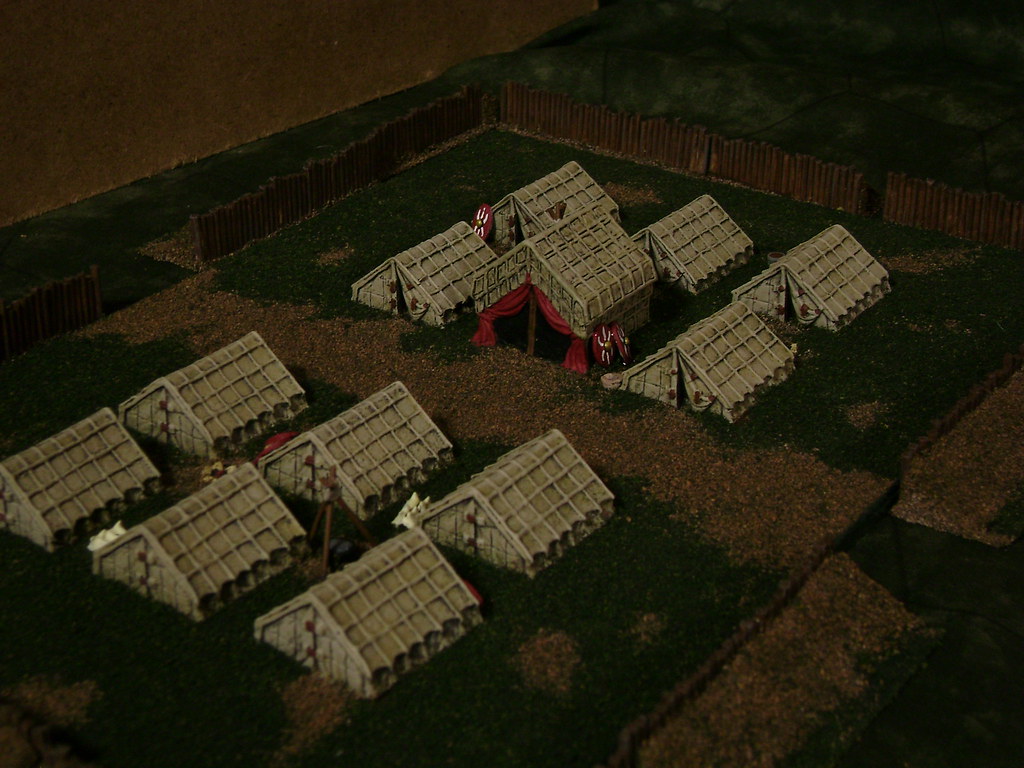
Legions with Marching Camp


A Closer View


From the Other Direction


Reviewing the Troops


Cohort up close


Archers, Cavalry, and Psiloi


Scorpions, Cavalry, & Psiloi


Marching Camp

(Tents by Baueda)

Monday, January 25, 2010

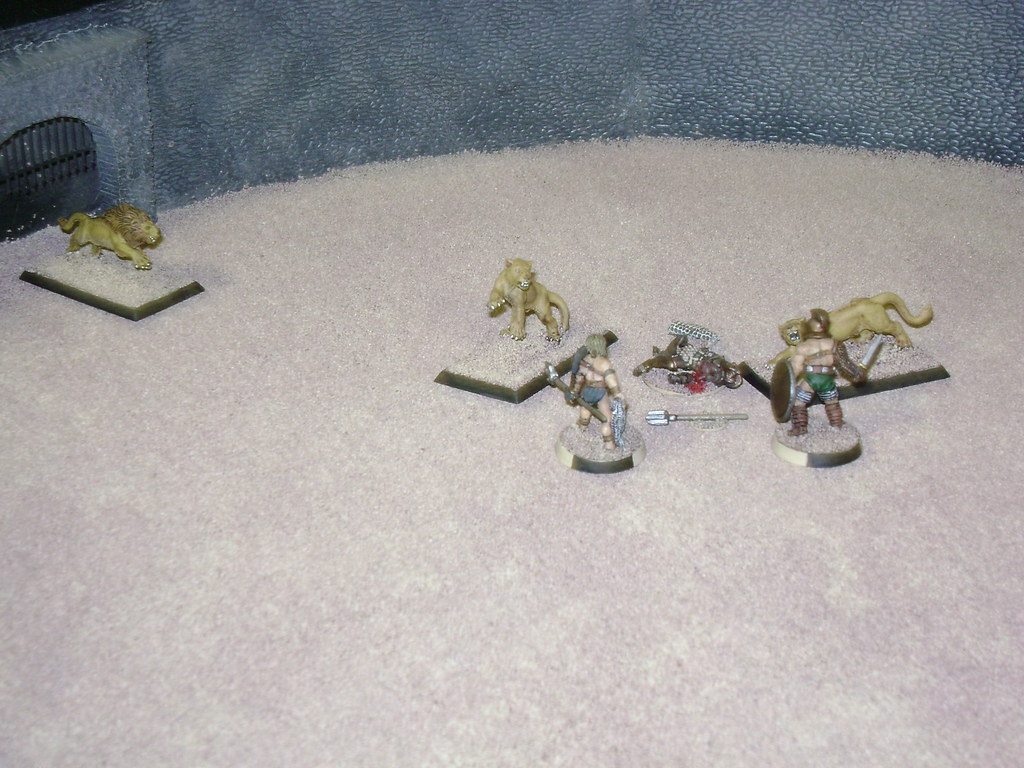
28mm Gladiator Arena

Well after several months of not putting anything out here I finally got my camera squared away and decided to get back at it.

I've uploaded some pictures of my 28mm Gladiator Arena and thought I would give a little tutorial on how to build one.


I decided to focus on the arena itself and too ignore the crowd. I really only cared about the gaming area itself and didn't want alot of scenery to get in the way of playing. I wanted the arena to be easily portable. I also had already written my rules and did not need hexes. However, I will address adding hexes below in the instructions in case you want to use them.


The design I eventually settled on was a box with the arena inset into it, sort of like a drawer. By adding a handle to one side I made it easy to carry just like a suitcase.


Materials needed:


  • 4 pieces of bass wood (24" x 3" x 3/8")

  • 2 pieces of masonite (24" x 24" x 1/8")

  • 16 small wooden blocks

  • Enough sheets of palstruct stone effects to create the walls

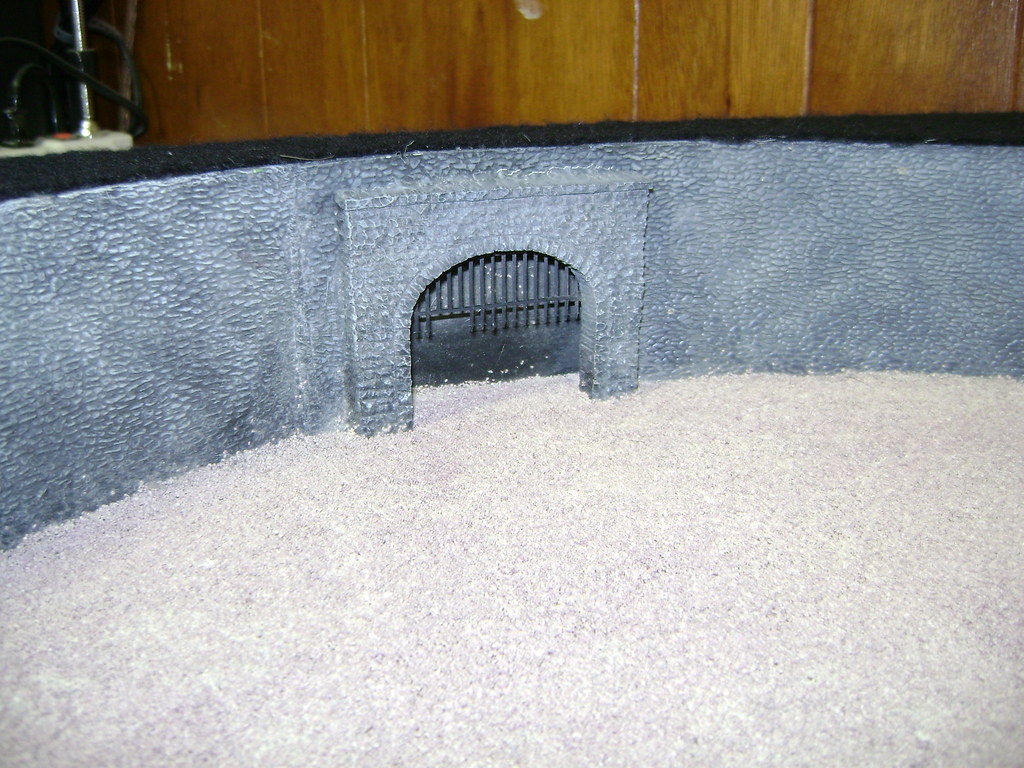
  • 4 HO scale model railroad tunnel entrances

  • 1 pack of O scale plastic "Wrought Iron" fencing

  • Small pack of 3/4" long screws

  • White Glue

  • Fine Model Railroad Ballast (For Sand on arena floor) or

  • Tan Hex mat for arena floor

To start off determine the size of the arena you want to create. With a 2 x 2 box I went with a 22" diameter circle. Scribe this size circle (Centered) on both of the pieces of masonite. Cut the circle out of the piece of masonite that will be on the top.


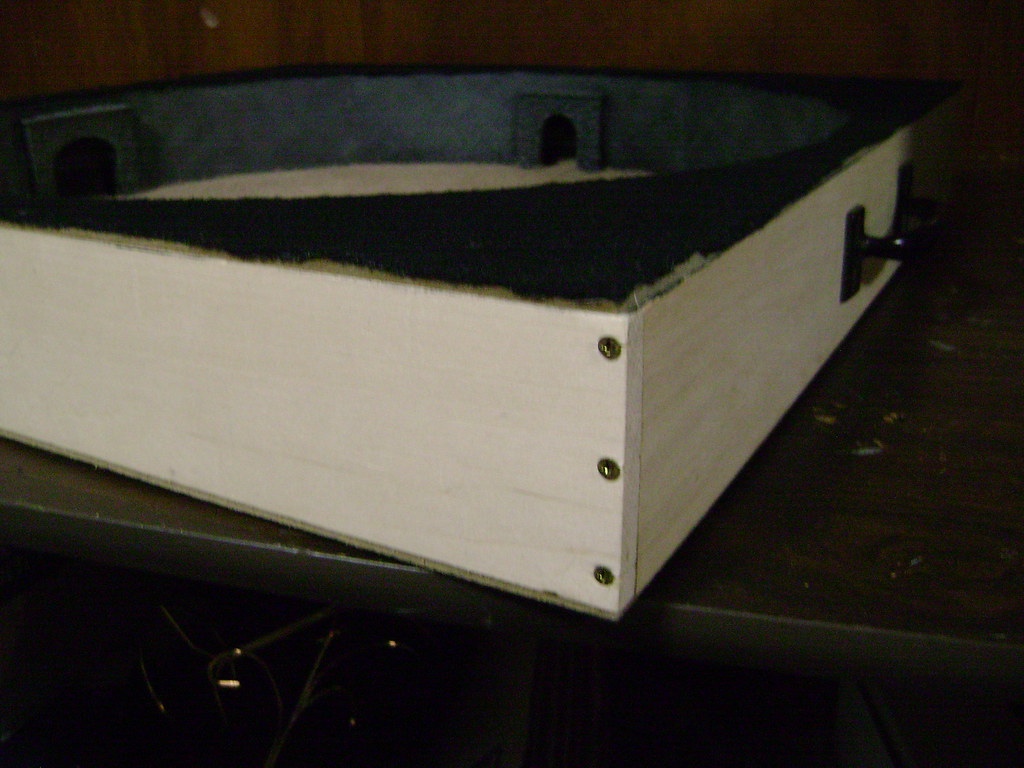
Cut two of the pieces of basswood down by 3/4 of an inch. This will allow you to assemble the four pieces of basswood into a frame that will act as the sides of the arena box. Now attach the 2 pieces of masonite to each side of the basswood frame. Make sure the scribed circle on the bottom piece is facing into the box (Toward the top of the box). This inner scribed circle will allow you to position the 16 support blocks along the outer edges of the circle. These will act as support for the Plastruct rock walls. Make sure that you do not position any of these in spaces where you want to put your arena entrances.


I used hot glue to position these support blocks but you could use small screws or some other glue if you wish.


You should now have a shell that is ready to support your arena walls.


Use the plastruct plastic sheet of your choice to get the rock walls you want. Alternately, you could do something more ornate if you like. Make sure you plan for where you wish to put your entrances and cut openings of appropriate size for the tunnel entrances you have purchased.


Before you attach your tunnel entrances cut appropriate sized pieces of wrought iron fence and glue to the back of your tunnel entrances. These can be in whatever position you prefer. Down or up. Now glue the tunnel entrances in place.


Now it is just a matter of painting the arena to your liking and flocking the base of the arena with ballast. I used plenty of white glue for the flocking to make sure it was durable.


If you prefer to have hexes in the bottom of your arena I would glue a hex mat down to the bottom piece of masonite before scribing your circles.


I also finished my arena off by gluing down some black felt over the top of the box around the arena opening.


Hopefully this gives you some idea of how I built my arena.

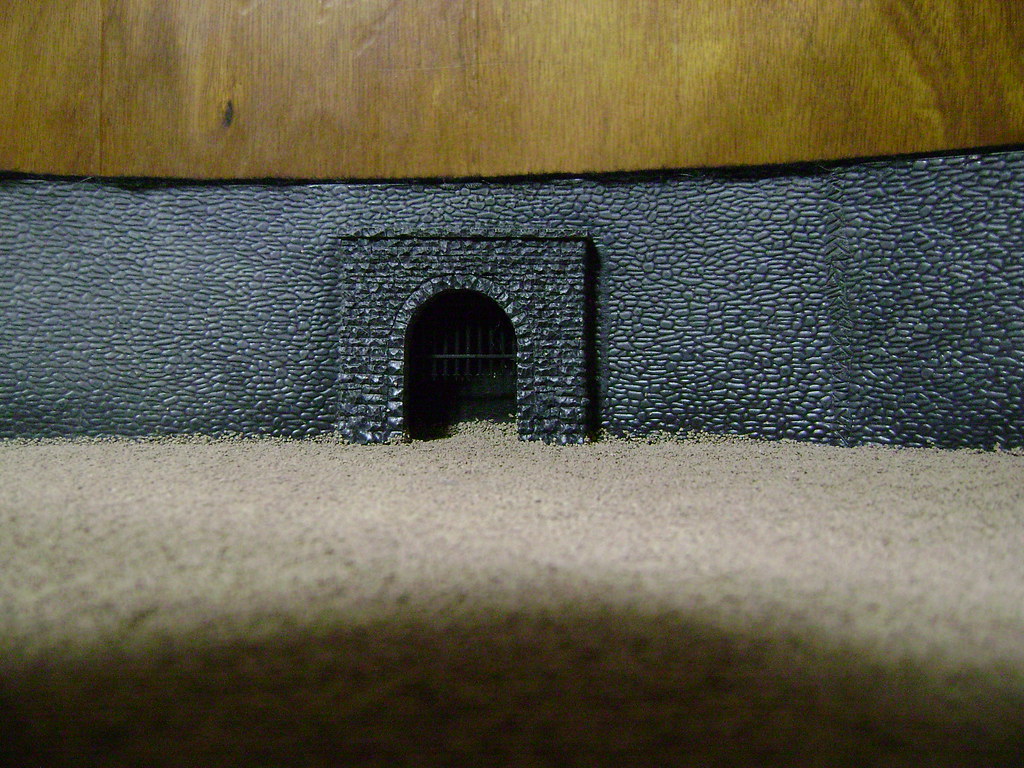
Large Entrance

Small Entrance


Corner Construction


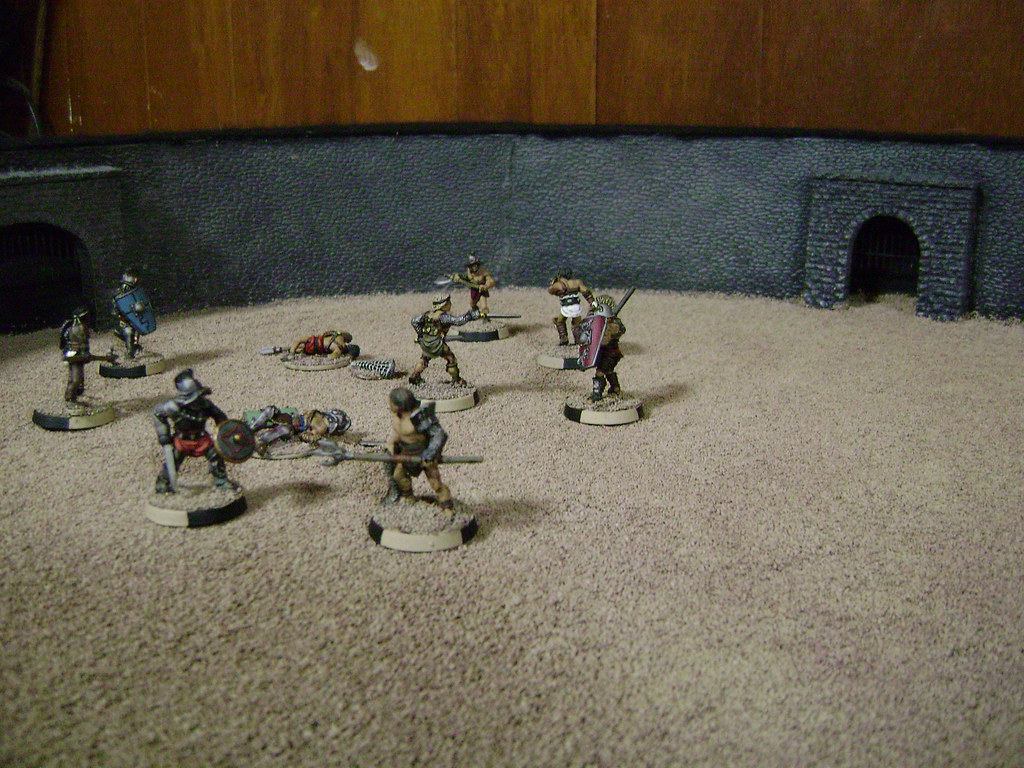
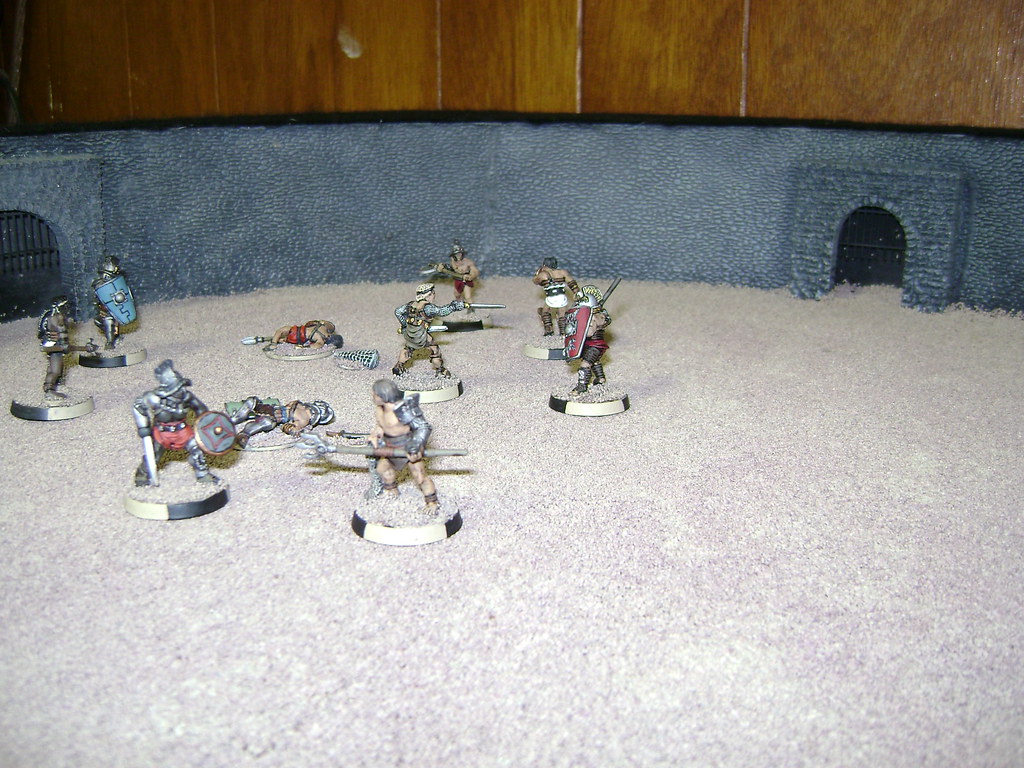
The Arena in Action


Thanks for taking a look!

Sunday, February 8, 2009

28mm 13th Warrior Project

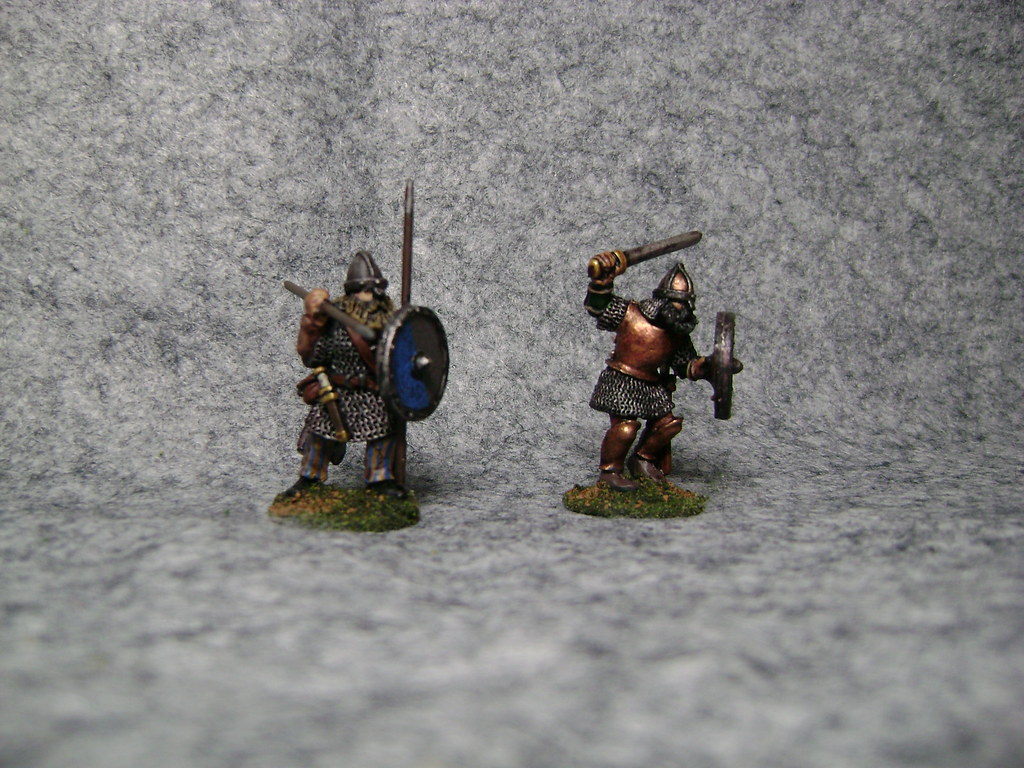
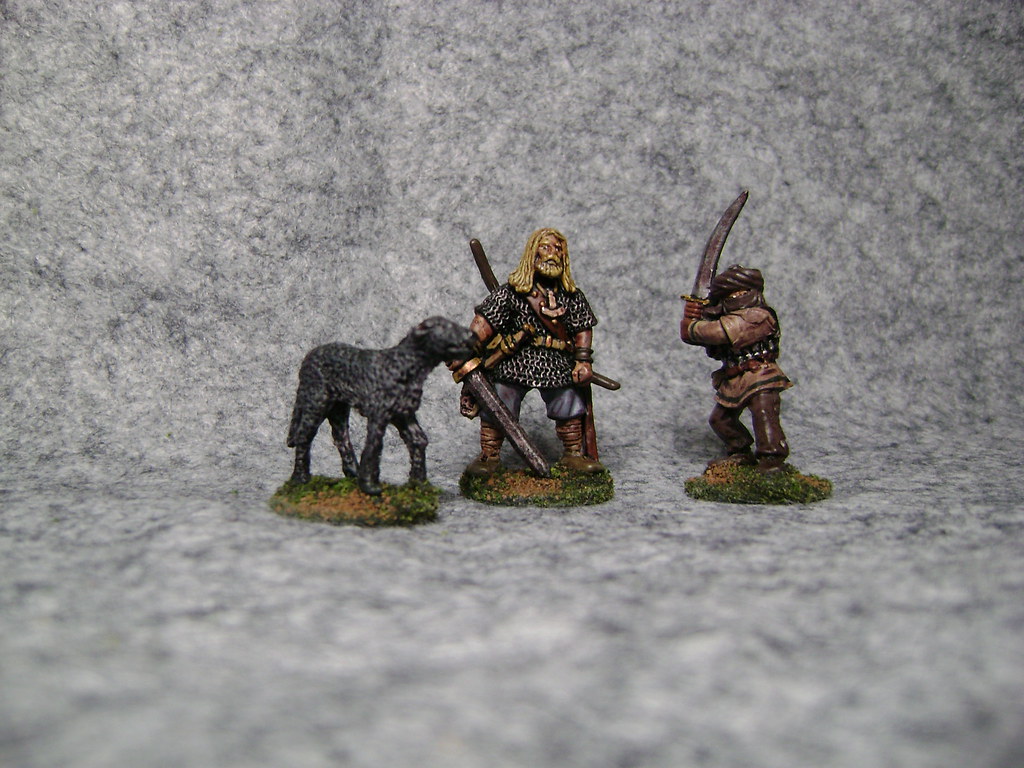
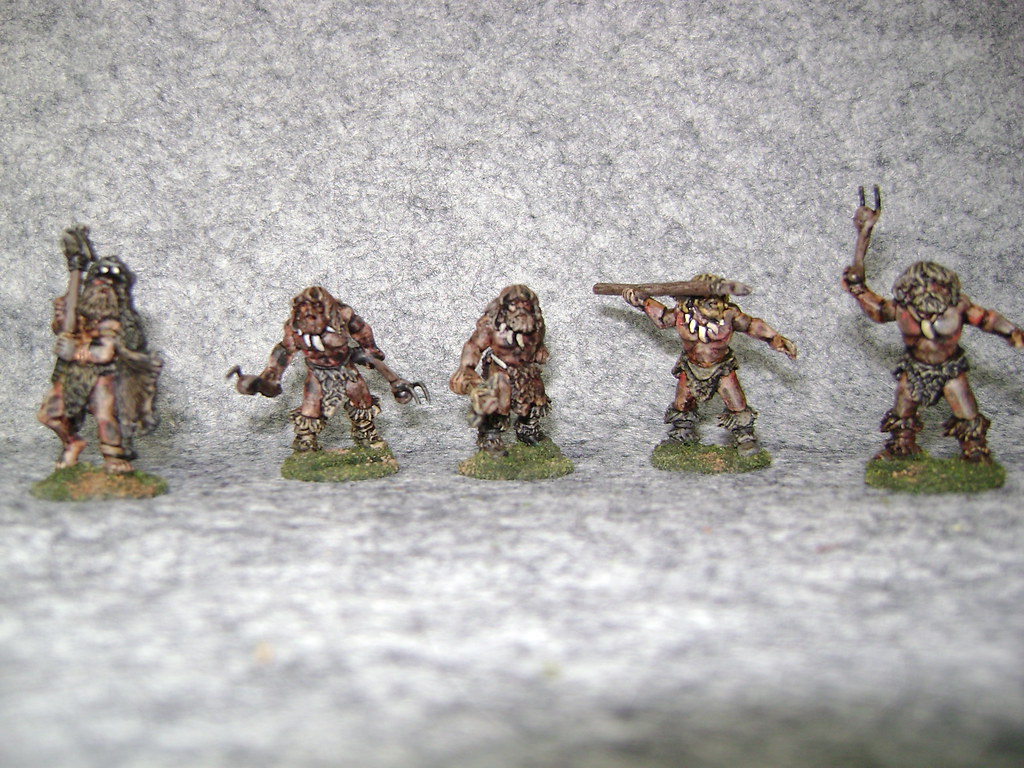
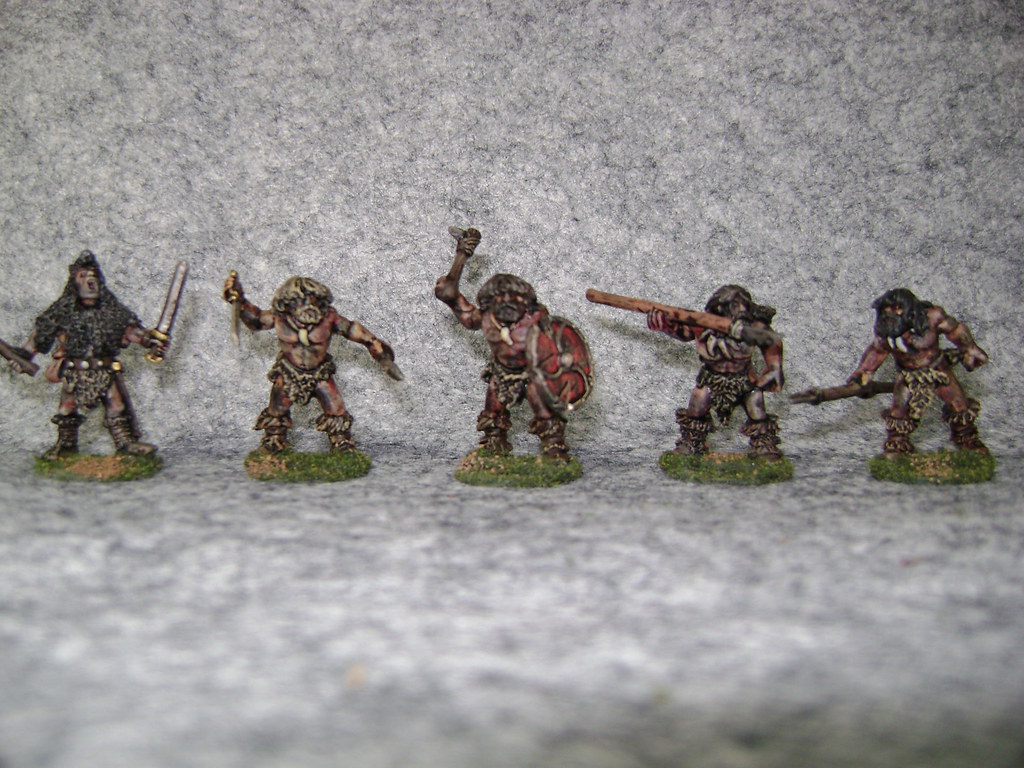
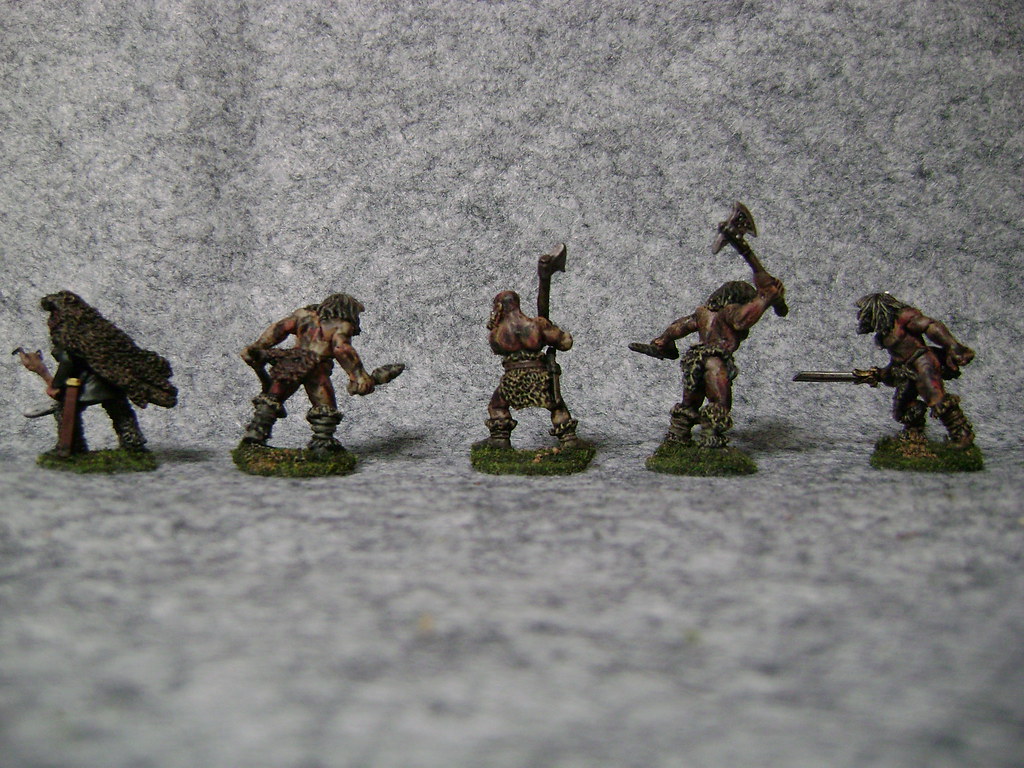
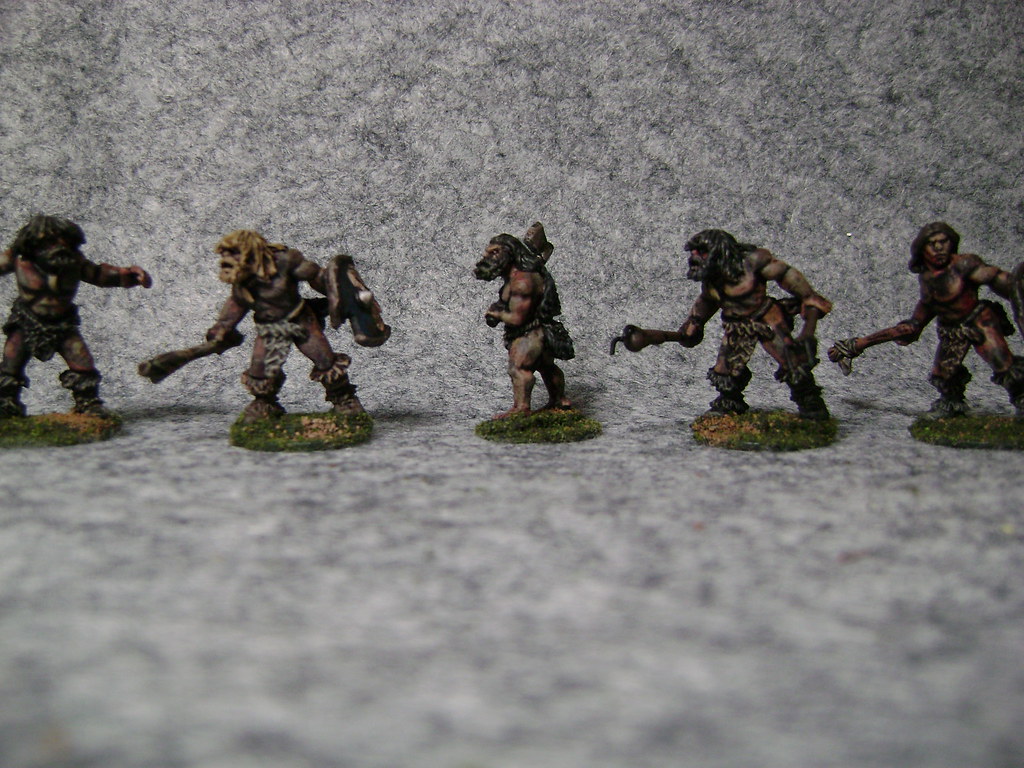
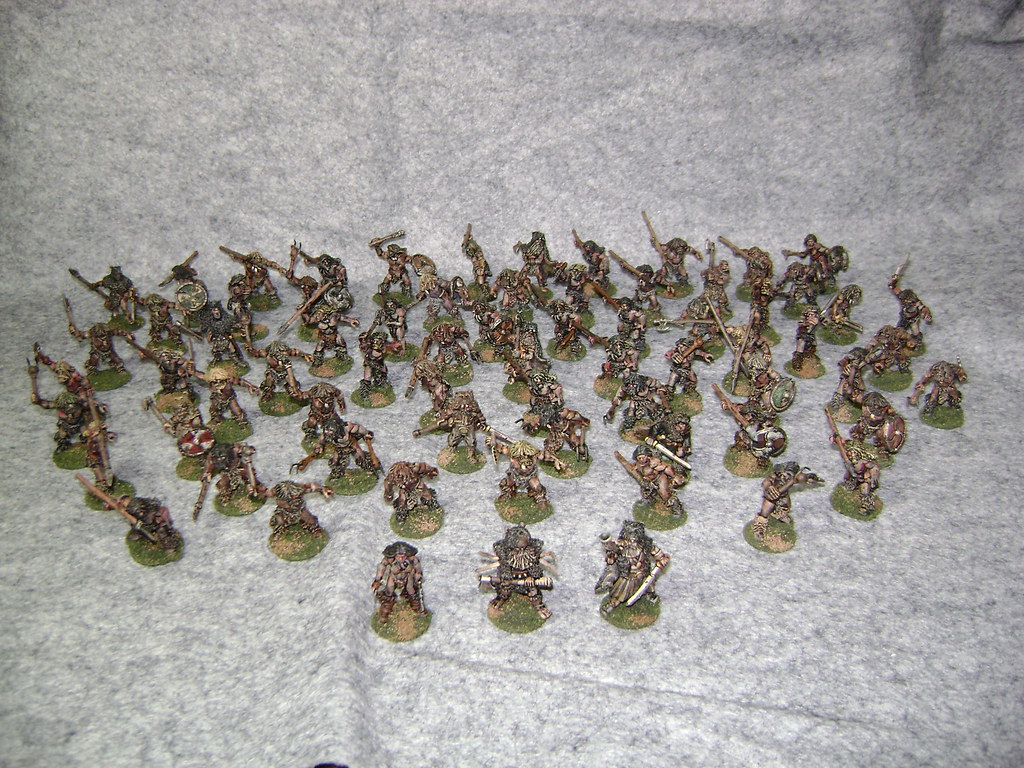
A while ago I decided to put together a 13th warrior game focusing on the nighttime battle for the village. I went for a combination of the fight in the book "Eaters of the Dead" and from the movie. For the Vendol I used a combination of Mark Coppestone's cavemen and the Bear & Wolf clad Berzerkers from Foundry.

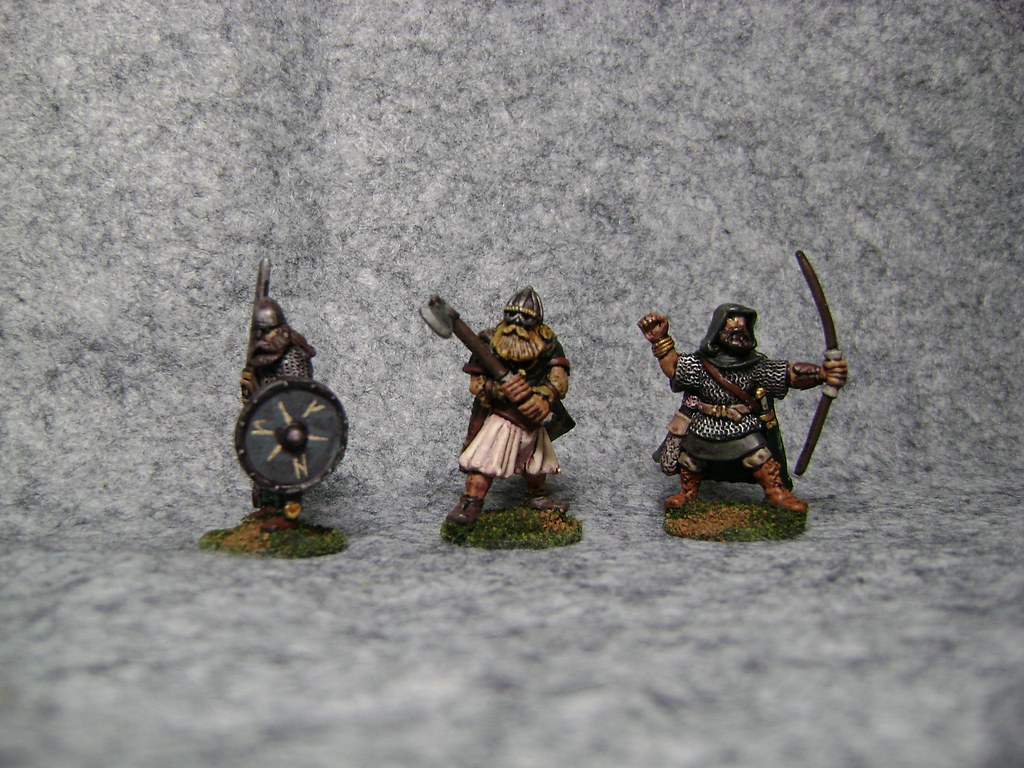
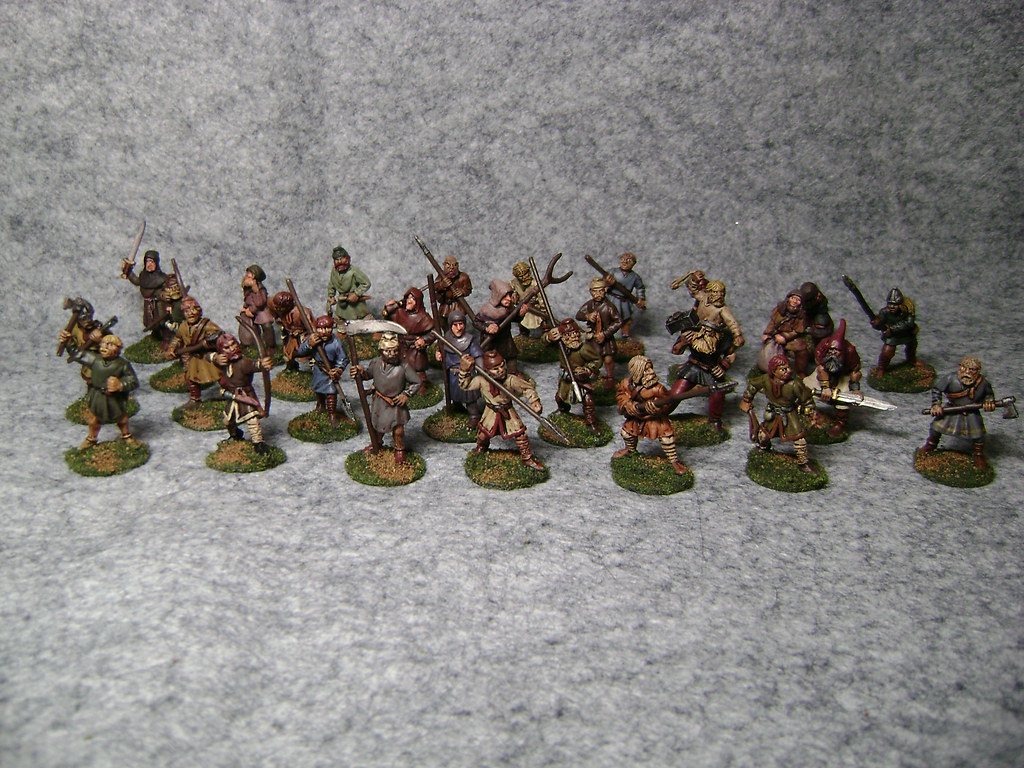
The Northmen were pretty easy I just used Vikings from Foundry. For Fadlan I combined GW mounted saracen torso with foundry viking legs. The villagers are a combination of Gripping Beast, Black Tree, and Dwarf Wars figures.
For rules I used a very slightly modified version of GW's LOTR system. It works great for medieval skirmish and gave an excellent feel to the game. I've run the scenario at a few conventions and it has been really well balanced.

The following pictures show several views of these figs.
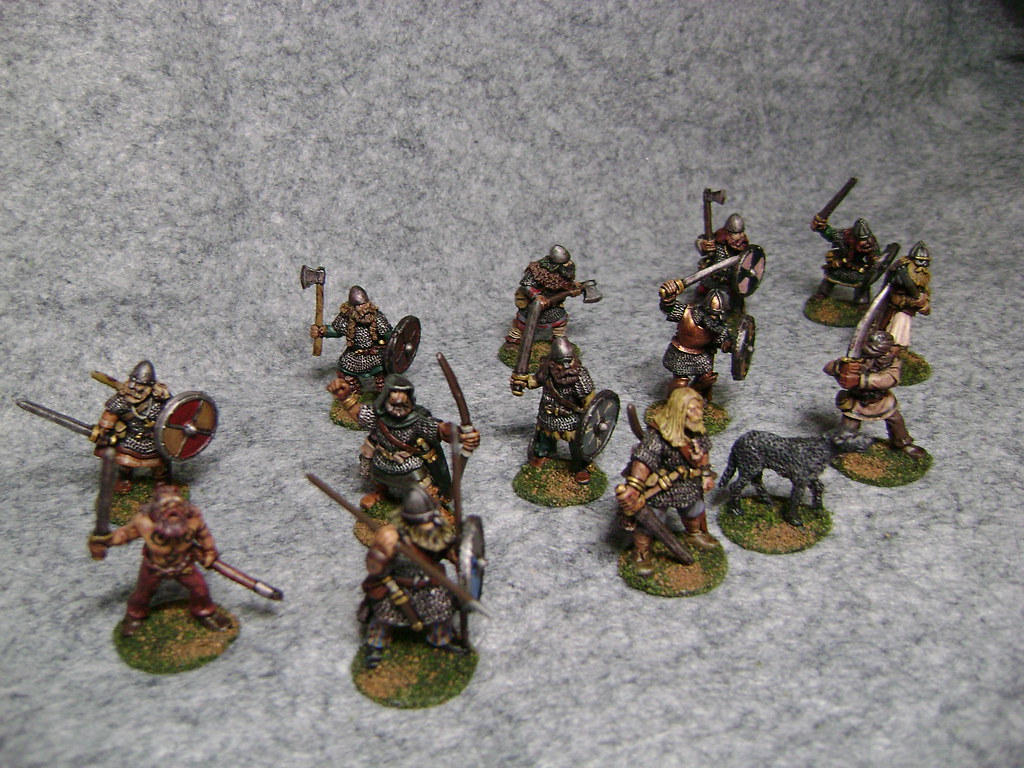
The Thirteen


The Villagers


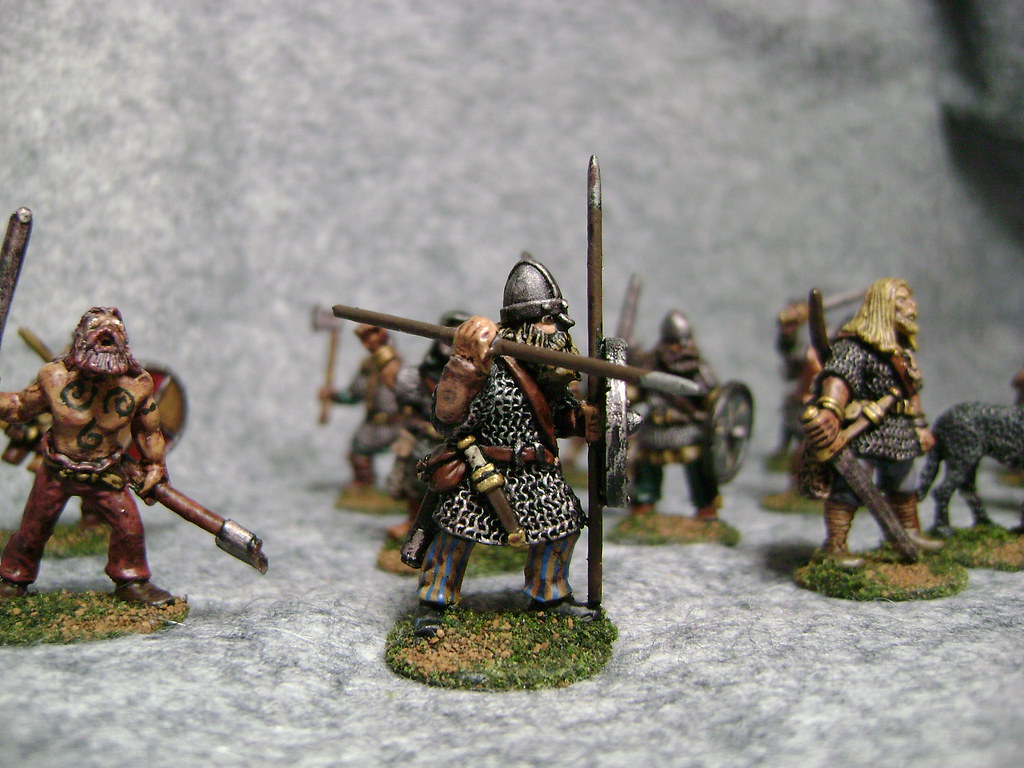
I wanted the Vendol to look dirty and filth encrusted like they did in the movies. I achieved this by using a mixture of black, brown, grey, and red as the base color for the flesh. I then drybrushed a flesh tone over this. After all of the other details were painted I then used a pretty heavy Brown ink wash and drybrushed again. I liked the finished product. They really look like they just crawled out of a cave somewhere.

The Vendol


You can see more pics of my 13th warrior figs as well as other projects on my Flickr page at

http://www.flickr.com/photos/26125290@N07/sets/

I'll try to get some pics of my village and terrain for this game taken soon.


Monday, July 14, 2008

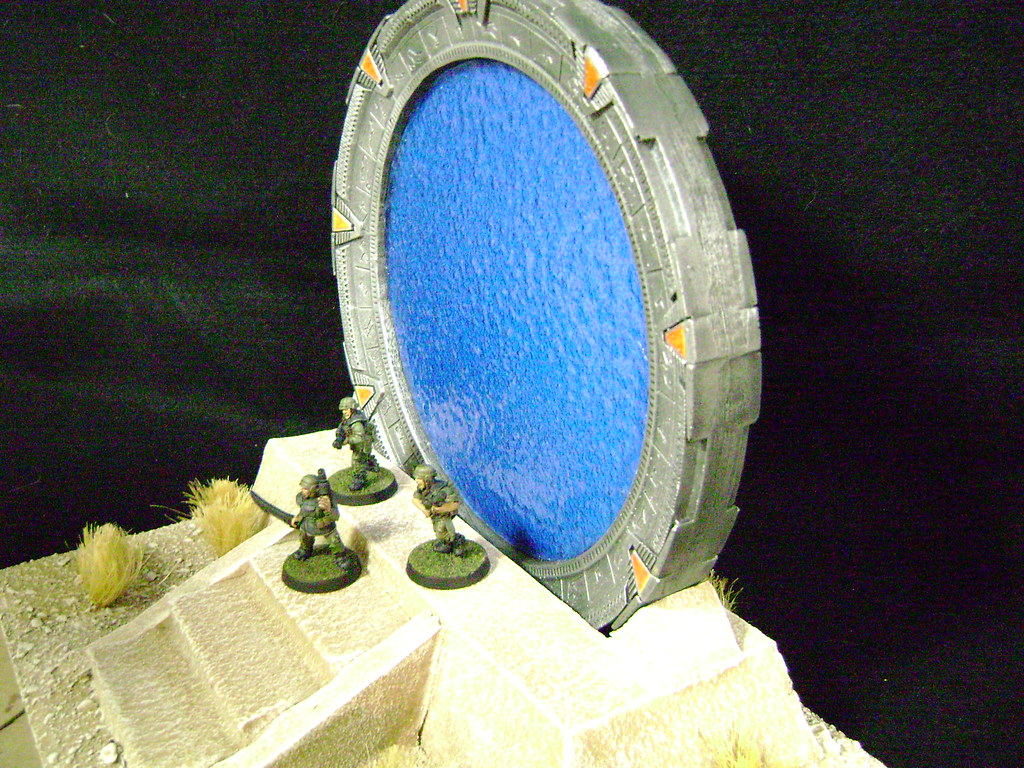
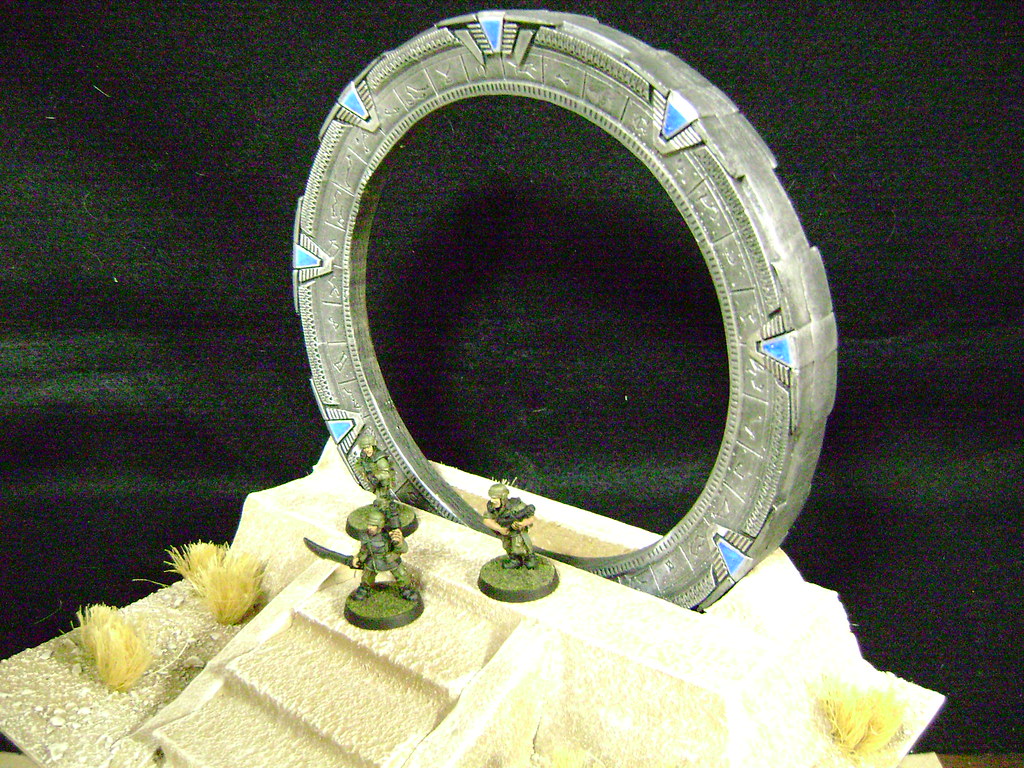
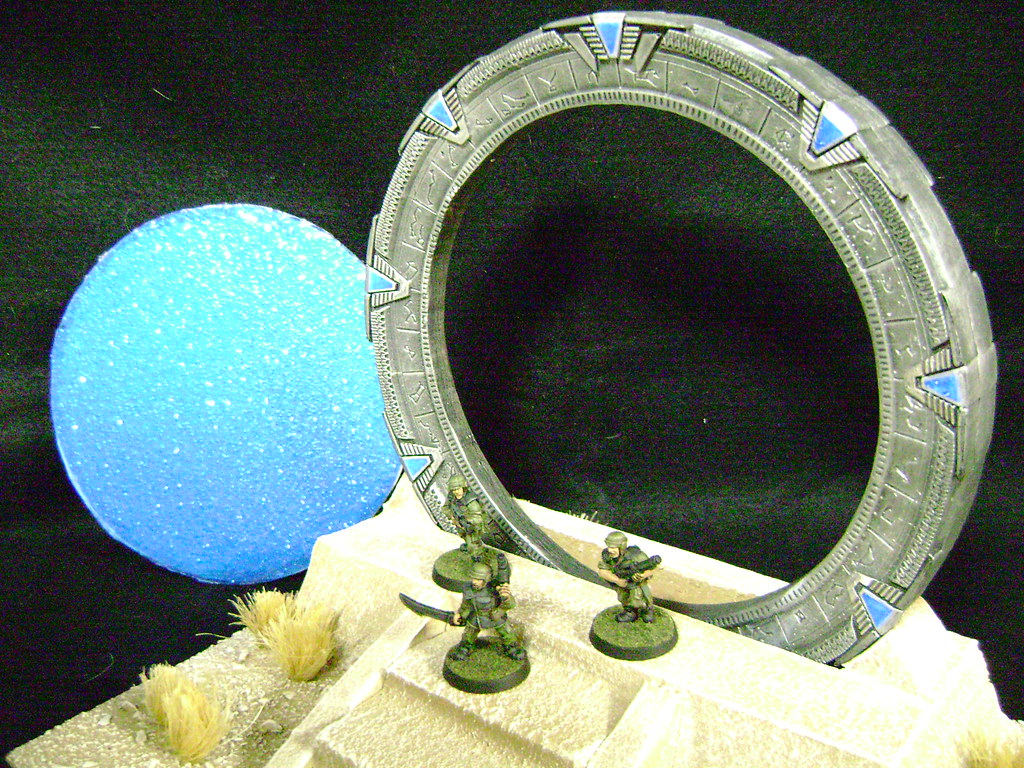
Layering Styrene - 28mm Stargate Insert

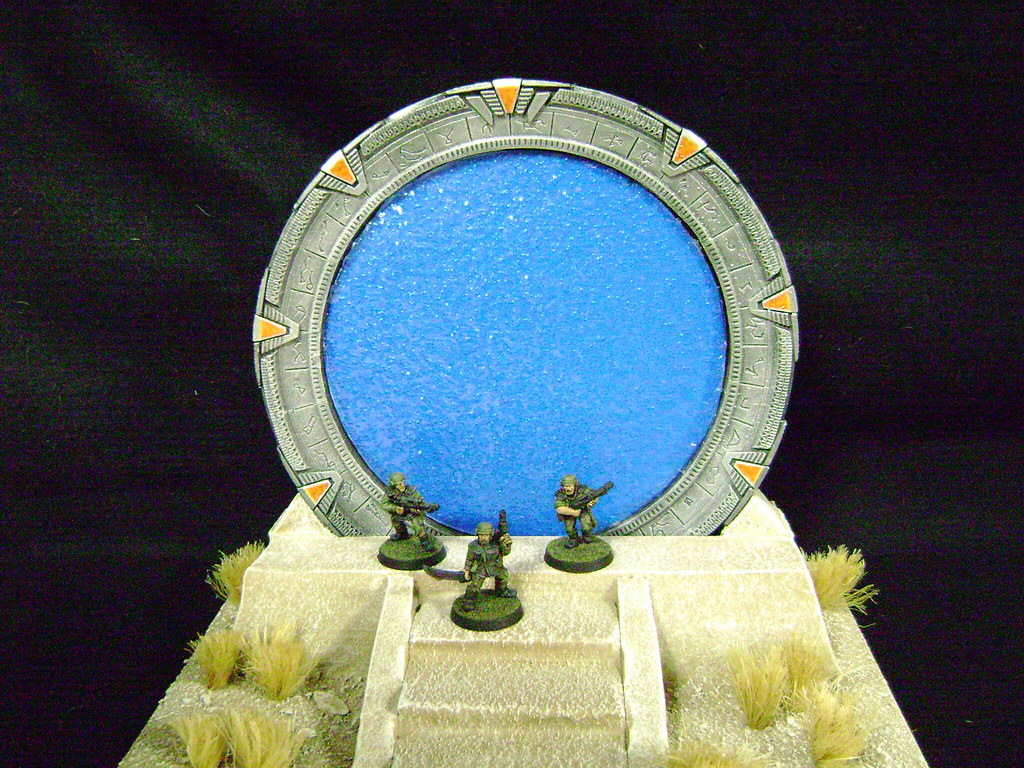
A few weeks ago I set about making a styrene insert for my Stargate model. After several attempts and some advice from guys on TMP I finally have a finished product. I ended up using 4 Pieces of blue water effects styrene from Plastruct and one sheet of plain white styrene. I made the insert look the same from both sides so, starting from the front I have a layer of wavy blue water, a layer of bubbly blue water, the layer of white, a layer of bubbly blue water and then a layer of wavy blue water. This gave me a depth that looks really nice and the appropriate blue color I wanted.

The most difficult part of the process was gluing the layers together without causing any hazing or dis-coloring of the water effects plastic. This was ultimately accomplished with Model Masters Airplane Canopy Cement around the edges. It worked exactly as I wanted and caused absolutely no discoloration. I then ran a bead of clear RTV silicone around the edge to hold it in place inside the gate when it was popped in. I originally intended to use magnets but this proved nearly impossible and good old friction ended up being the better choice.


Now I just have to make a dial home device of somekind and I'll be set.

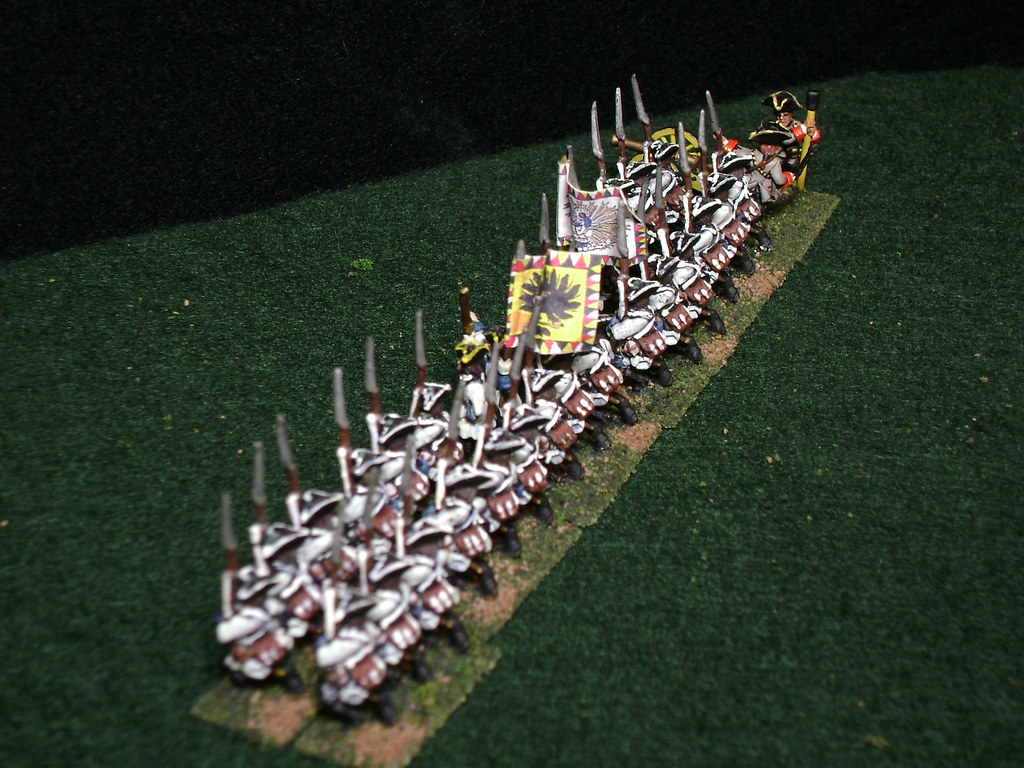
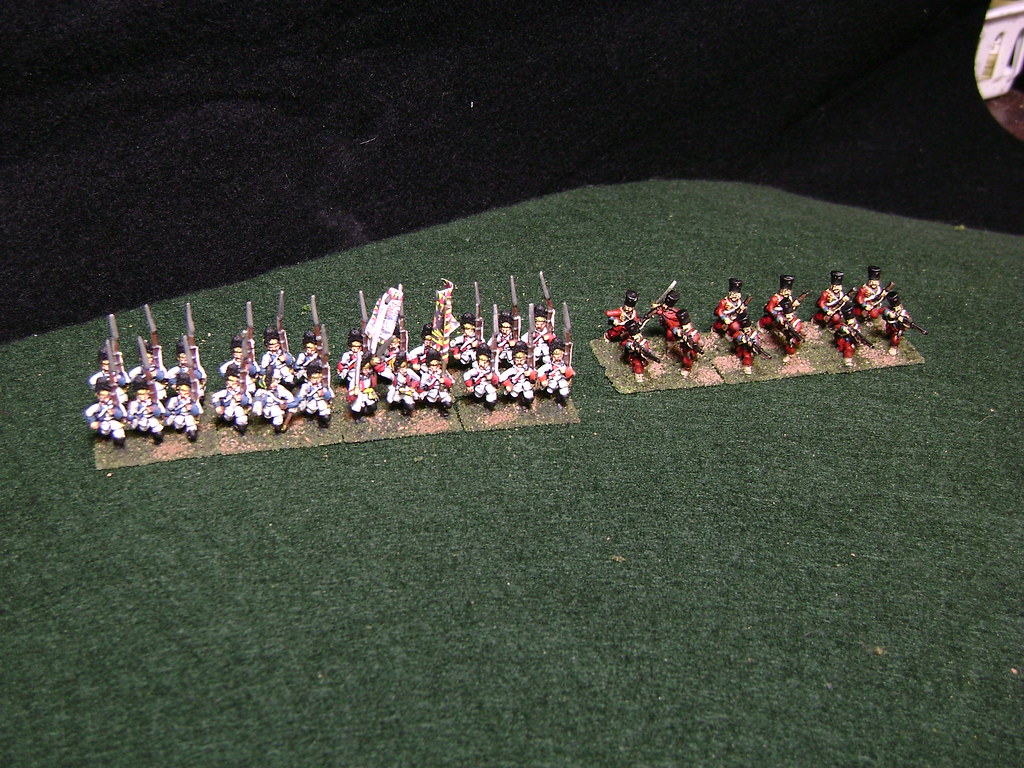
SYW 15mm Closeups

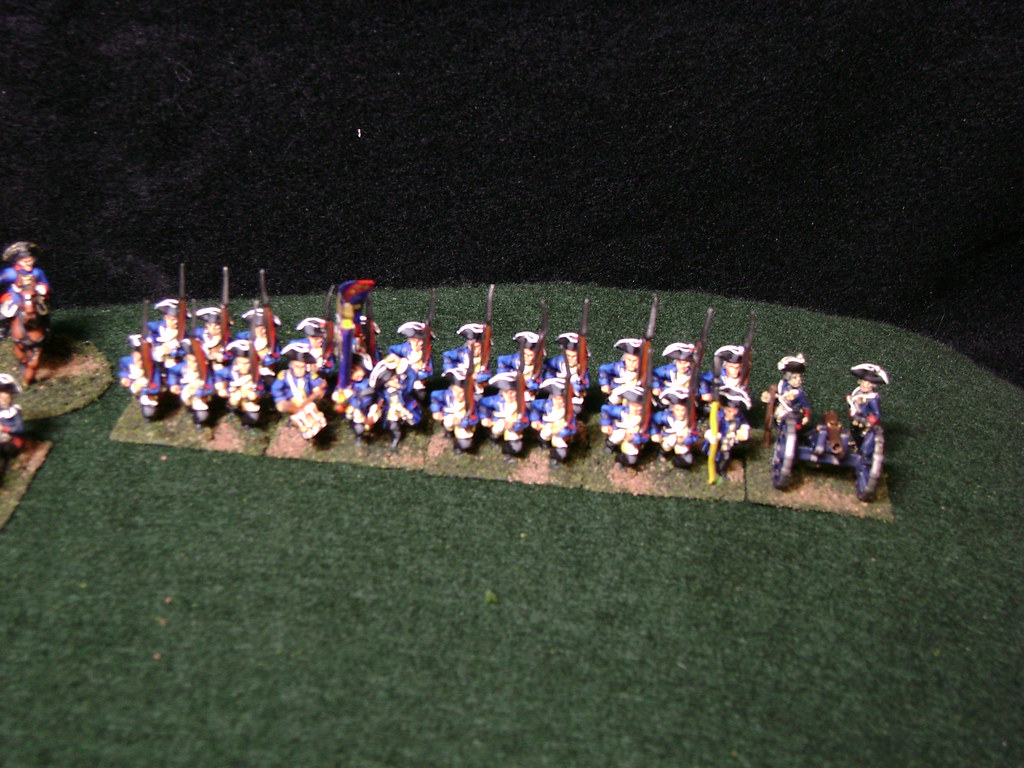
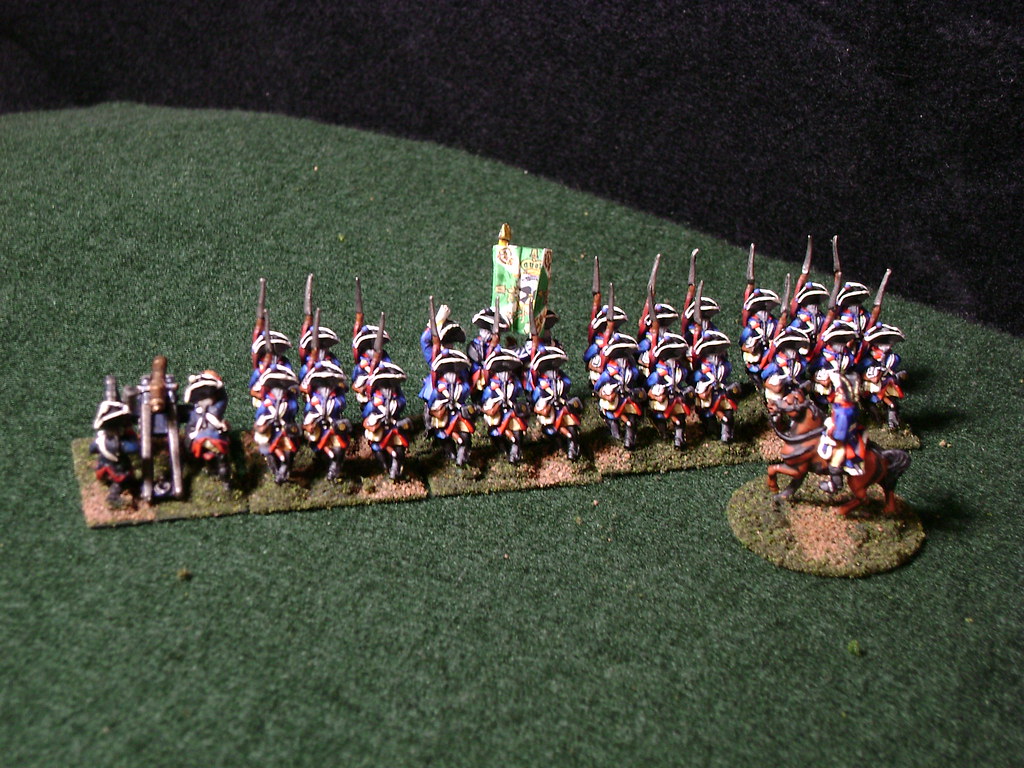
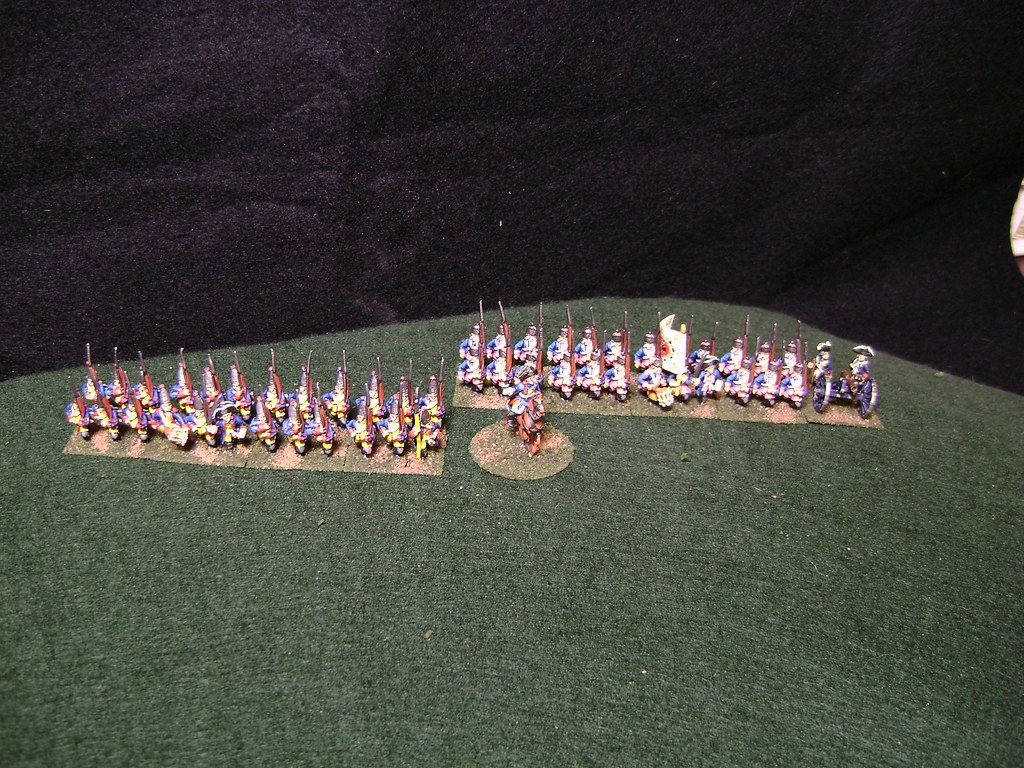
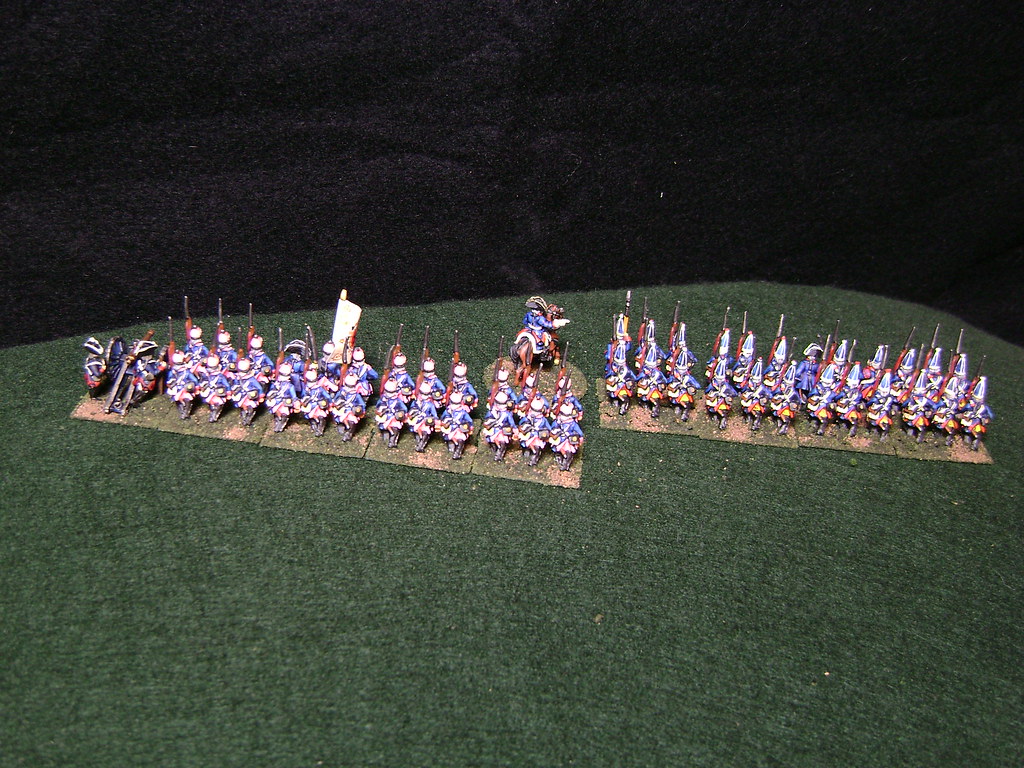
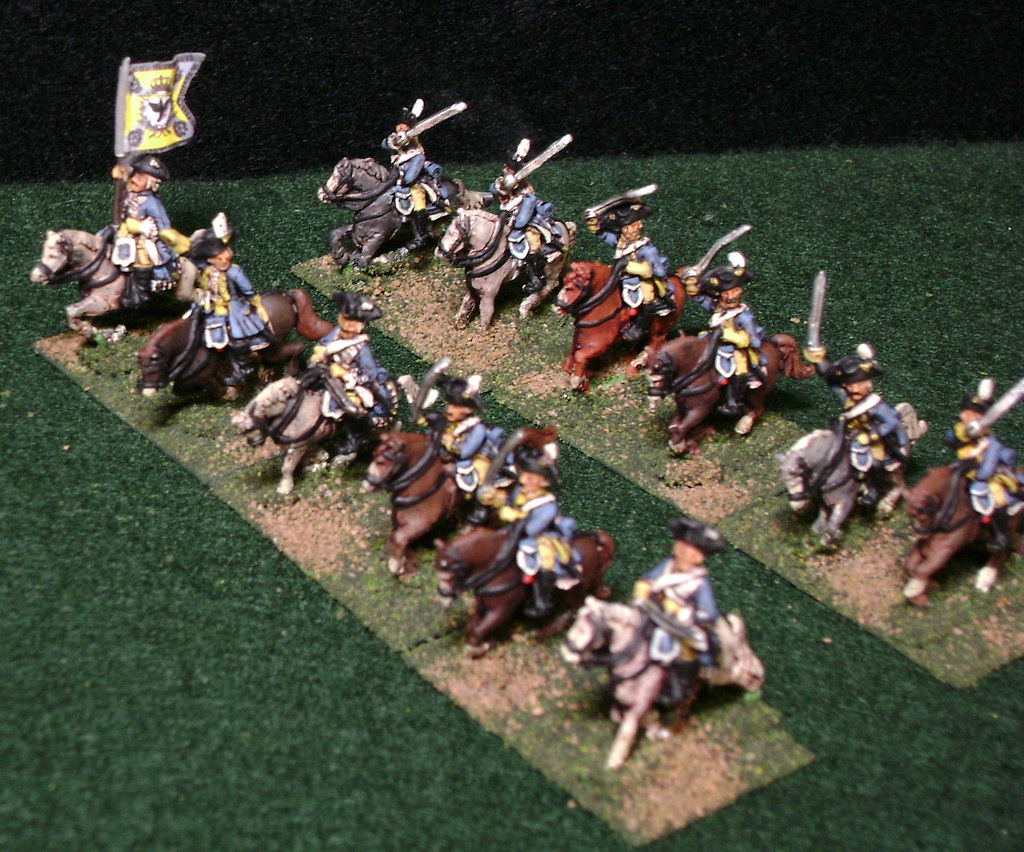
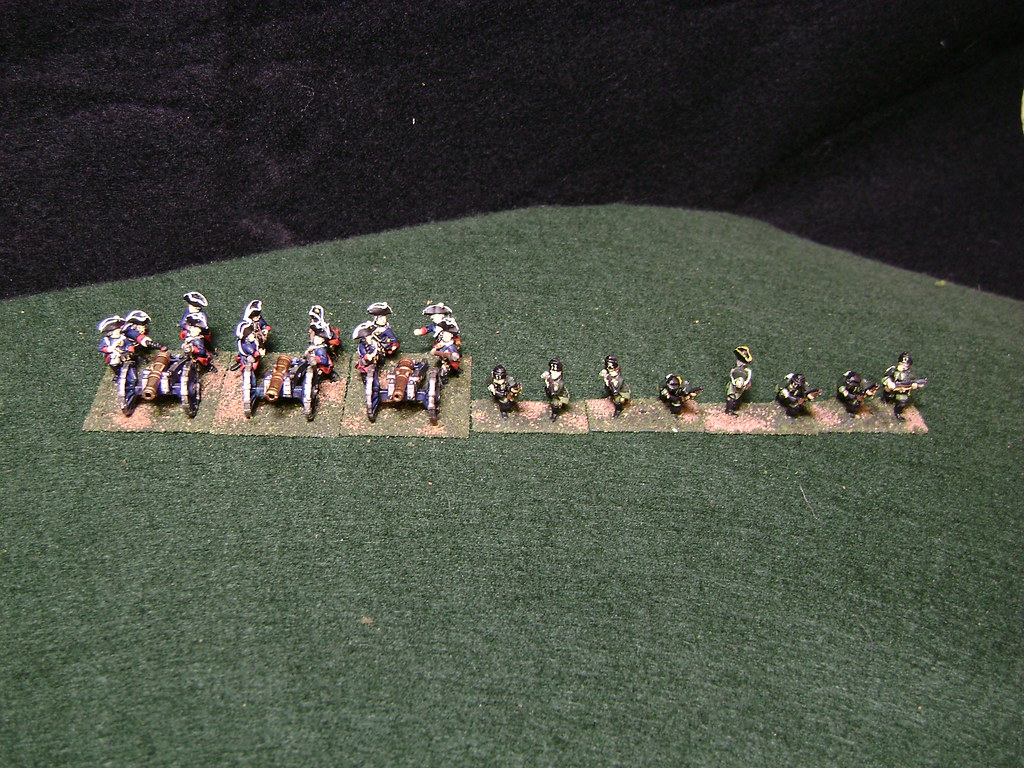
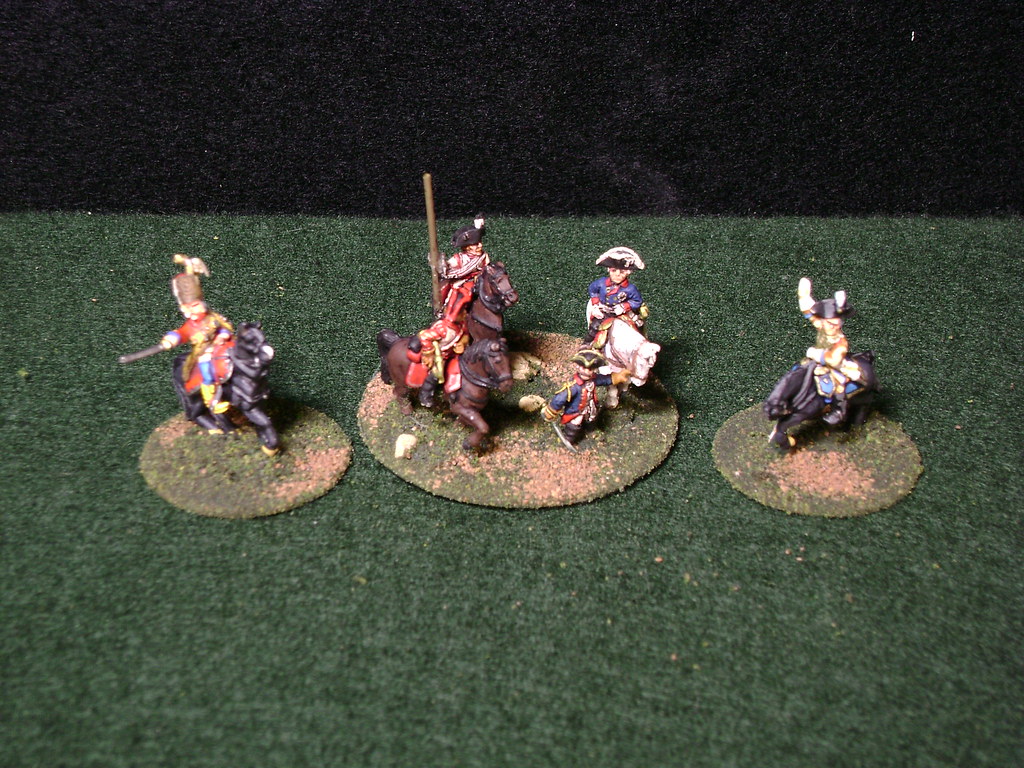
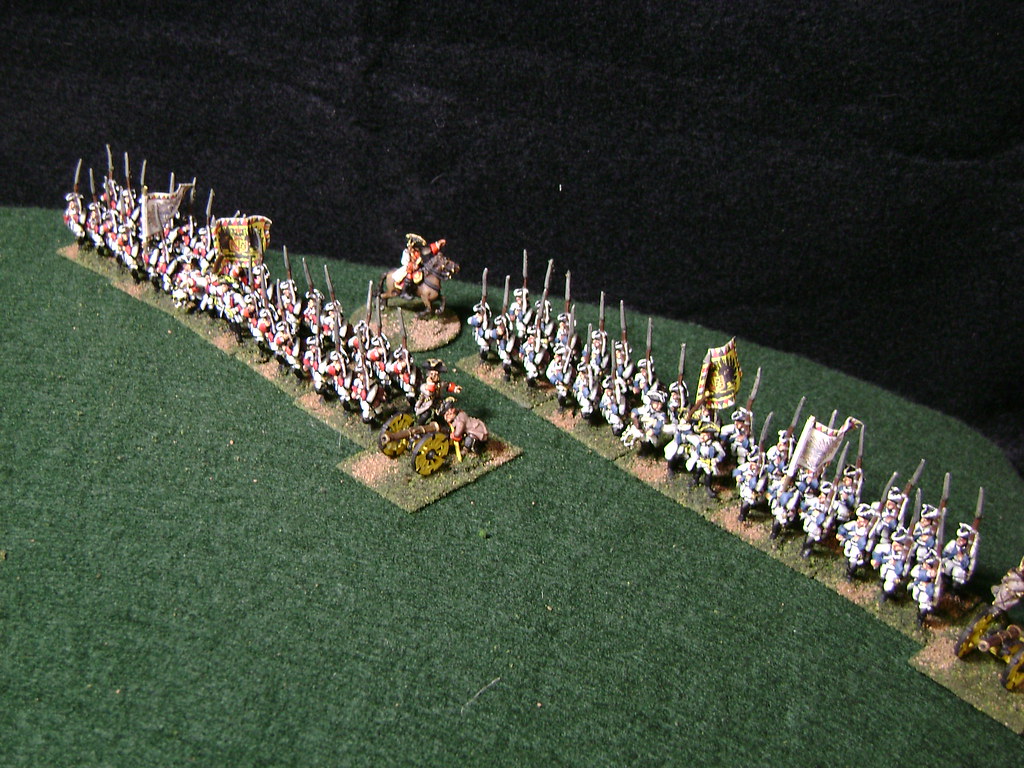
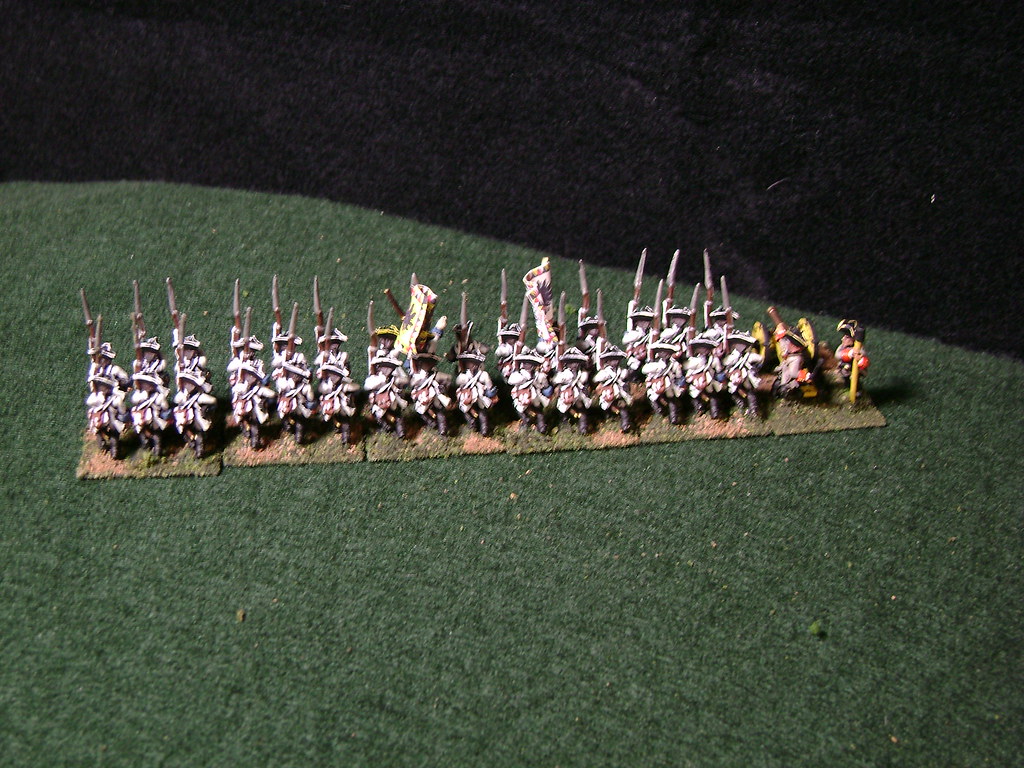
I received some requests for closeups of the SYW figs from the below battle report and I finally got a few taken this week. I had some major trouble trying to take closeups so they aren't quite as clear as I was hoping for but hopefully they will suffice.

We'll start out with the Prussians and get to the Austrians further down the page. I generally use either 24 or 30 man battalions with a single battalion gun where appropriate. My figure scale is about 1:25. My figures are based so that I can use them for AOR if I need to, although I'm currently playing my own as yet untitled ruleset.

My latest 2 projects for 15mm SYW involve getting plenty of battalion 4 lb guns painted up for the Prussians and Austrians and also painting up Von Kleist's Freikorps. After that I have a ton of painted Russians I need to rebase.


The Prussians!


The Austrians!


That's about all for this post. I'll get some more stuff up in the near future.